
Jump Squats: Explosive Lower Body Power

Explosive power starts with a clear system
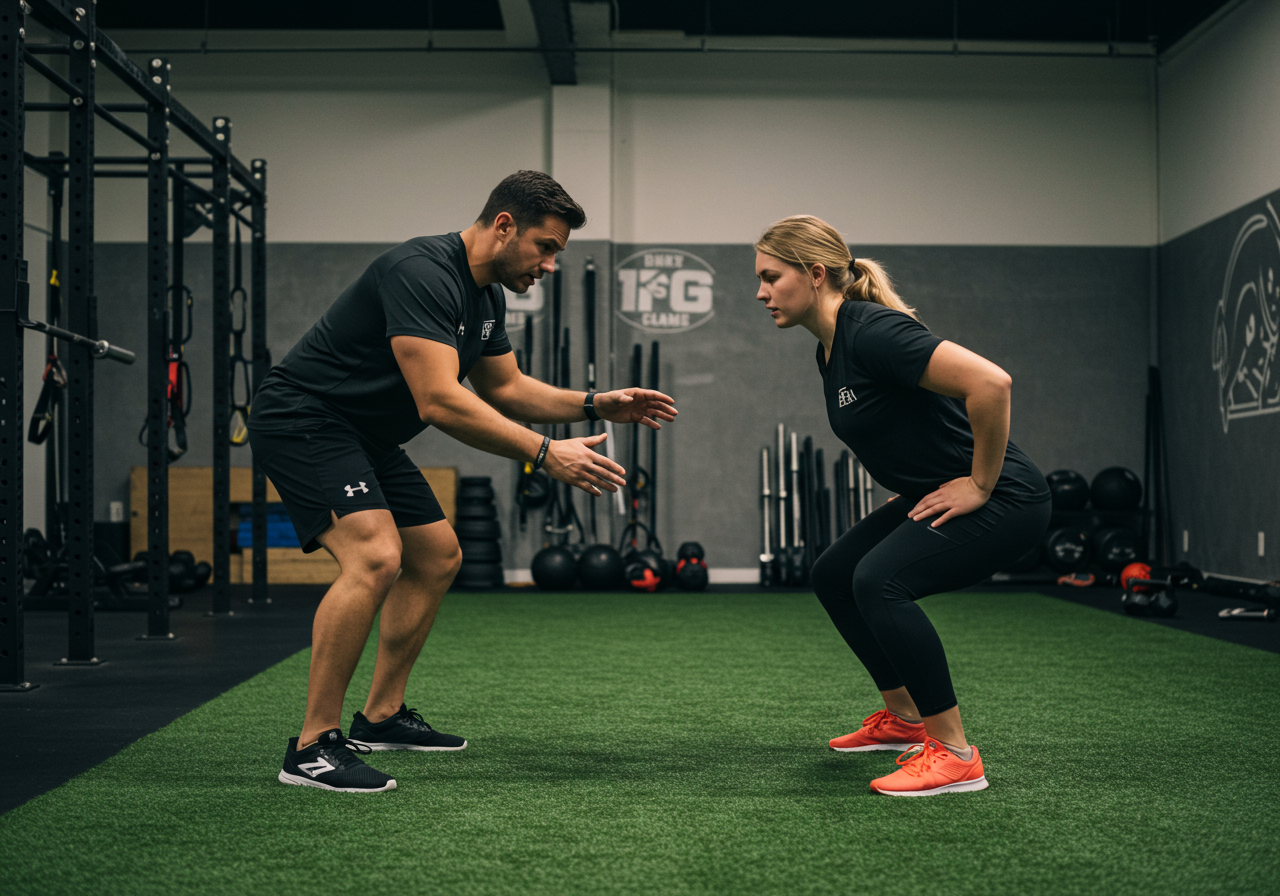
Jump squats build fast, springy legs. They also teach crisp landing control. I use them as the main power piece.
This plan combines strength lifts, plyometrics, and easy cardio. It keeps fatigue predictable and progress measurable.
- Stretch‑shortening cycle: quick dip, explosive drive, soft landing.
- Low volume, high intent: stop sets when height drops by 10%.
- Force first, then fatigue: power work before heavy lifts or cardio.
- Two lower days weekly: one power focus, one strength contrast.
I test jump height with a phone app and a tape on a wall. I track heart rate with a Garmin watch.
| Day | Focus | Key Movement | Sets x Reps | HR Zone | Notes |
|---|---|---|---|---|---|
| Mon | Power | Jump Squat | 6 x 3 | Z2 between sets | Full rest, height focus |
| Wed | Upper | Push/Pull | 3–4 x 6–10 | Z2 finisher | Keep legs fresh |
| Fri | Strength + Contrast | Back Squat + Jump Squat | 3 x 3 + 3 | Z1 between | Contrast pairs |
| Sat | Conditioning | Easy Cycle/Walk | 30–45 min | Z2 | Restore, not crush |
- Warm‑up: 5 minutes Z1 bike.
- Prep: 2 x 10 pogo hops, 2 x 6 bodyweight squats.
- Jump squats: 5 x 3, rest 90 seconds, stop if height drops.
- Finish: 3 minutes easy walk.
My last lower power session lasted 32 minutes. Average HR sat at 66% max. Peaks touched 86% only briefly.
Garmin recorded smooth recovery. I loaded jumps before squats. My legs felt snappy for the heavy sets.
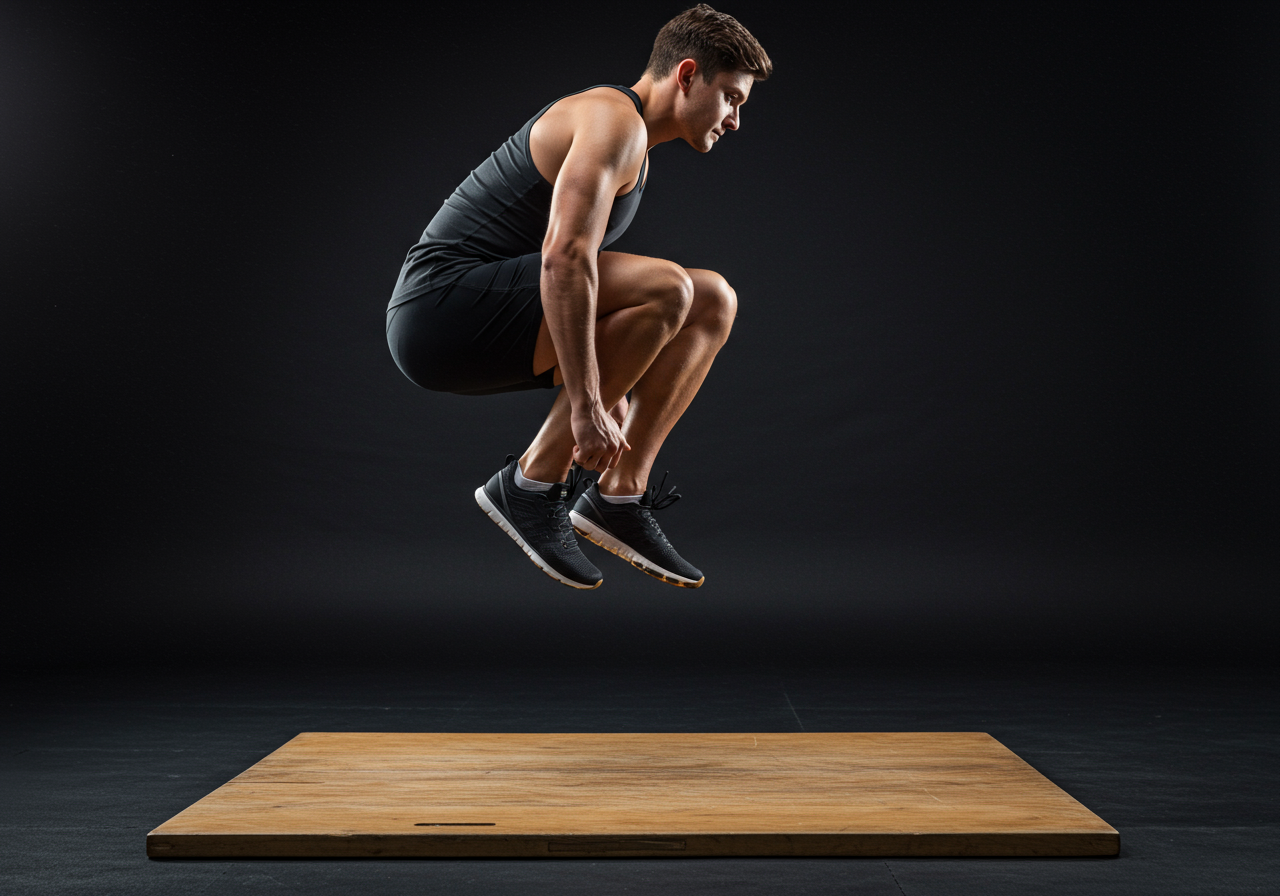
Clean technique protects joints and boosts height
Start with a shoulder‑width stance. Keep feet straight or slightly turned out.
Brace your core. Imagine zipping your ribs down to your pelvis.
Drop into a quick quarter squat. Keep chest proud and weight mid‑foot.
Drive through the floor hard. Swing arms up to add momentum.
Reach tall in the air. Keep hips and knees extended at peak.
Land softly on the balls then heels. Let knees track over the toes.
Absorb the landing with a quiet sound. Reset fully before the next rep.
- Fast dip stores elastic energy in tendons.
- Short ground contact preserves speed.
- Quiet landings reduce shear and compressive stress.
| Checkpoint | Cue | Common Fix |
|---|---|---|
| Knees cave | Push the floor wide | Mini band above knees |
| Heels lift | Stay tall, weight mid‑foot | Ankle dorsiflexion drill |
| Loud land | Land like a cat | Reduce height; focus on control |
| Back arches | Ribs down, glutes on | Shorten dip depth |
- Avoid deep squats if ankles are stiff.
- Stop if knees hurt during landing.
- Cap volume at 18–24 total jumps for beginners.
- 90/90 hip switches x 10.
- Ankle rocks x 12 each.
- Glute bridge x 12 with 2‑second squeeze.
I once skipped the prep. I strained my calf during set two. I never repeat that mistake.
I now track warm‑up compliance in my notes. My soft‑landing score improved within one week.
Smart progressions turn effort into measurable power
We scale intensity by height, load, and contact time. We also manage rest carefully.
Beginners focus on rhythm and landing. Intermediates chase height. Advanced athletes add contrast work.
| Level | Exercise | Sets x Reps | Rest | Exit Test |
|---|---|---|---|---|
| Beginner | Counter‑movement jump squat | 5–6 x 3 | 60–90 sec | 10 quiet landings |
| Intermediate | Box jump squat to soft box | 5 x 3 | 90 sec | Consistent height |
| Advanced | Loaded jump squat (vest/dumbbells) | 4–6 x 2–3 | 120 sec | No height drop |
- Week 1–2: 6 x 3 bodyweight jumps, RPE 6–7.
- Week 3–4: 5 x 3 higher intent, add soft box.
- Week 5–6: 4 x 3 with 5–10% bodyweight load.
For contrast training, pair a heavy squat with explosive jumps. Keep heavy work at 80–85% 1RM for triples.
| Pair | Sets | Prescription | Rest |
|---|---|---|---|
| Back Squat + Jump Squat | 3 | 3 reps + 3 jumps | 2–3 min after jumps |
| Trap Bar Deadlift + Jump Squat | 3 | 2 reps + 3 jumps | 3 min |
I progress by two levers each week. I either jump higher or add a tiny load.
I cut sets if height fades early. I protect freshness for the next session.
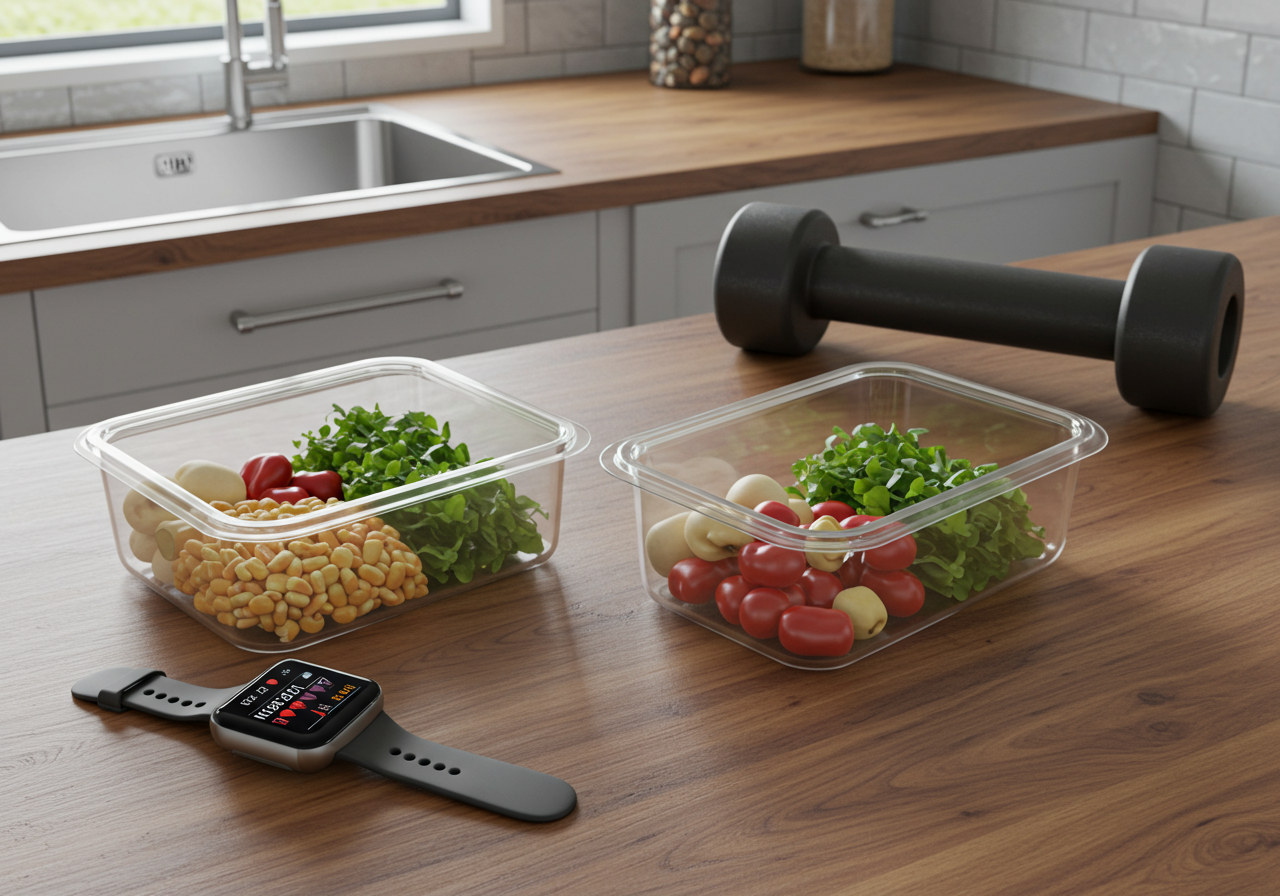
Recovery and nutrition keep power repeatable
Plyometrics tax tendons and the nervous system. Recovery must match intensity.
- Calories: bodyweight x 13–15 for recomposition.
- Protein: 1.6–2.2 g per kg bodyweight daily.
- Carbs: 3–5 g per kg on power days.
- Fats: fill remaining calories with whole food sources.
| Goal | Calories | Macros | Notes |
|---|---|---|---|
| Fat loss | BW x 11–12 | High protein, moderate carb | Keep power days fed |
| Performance | BW x 14–16 | High carb, moderate fat | Time carbs pre/post |
- Creatine 3–5 g daily supports power.
- Collagen 10 g + vitamin C pre‑jump supports tendons.
- Avoid excess caffeine late day. Sleep rules results.
I log food in MyFitnessPal. I aim for 170 g protein at 82 kg. See official app at myfitnesspal.com.
I track HR, HRV, and VO2 max with Garmin. See devices at garmin.com.
My six‑week block averaged 7.8 hours of sleep nightly. I added one 35‑minute Zone 2 ride weekly.
- Zone 2 supports recovery and capillary growth.
- Short HIIT helps fat loss but increases fatigue.
- I prefer Zone 2 during heavy jump phases.
Data outcomes were clear. VO2 max climbed by about 8% in six weeks.
Resting heart rate dropped from 58 to 54 bpm. HRV improved by 9 ms on average.
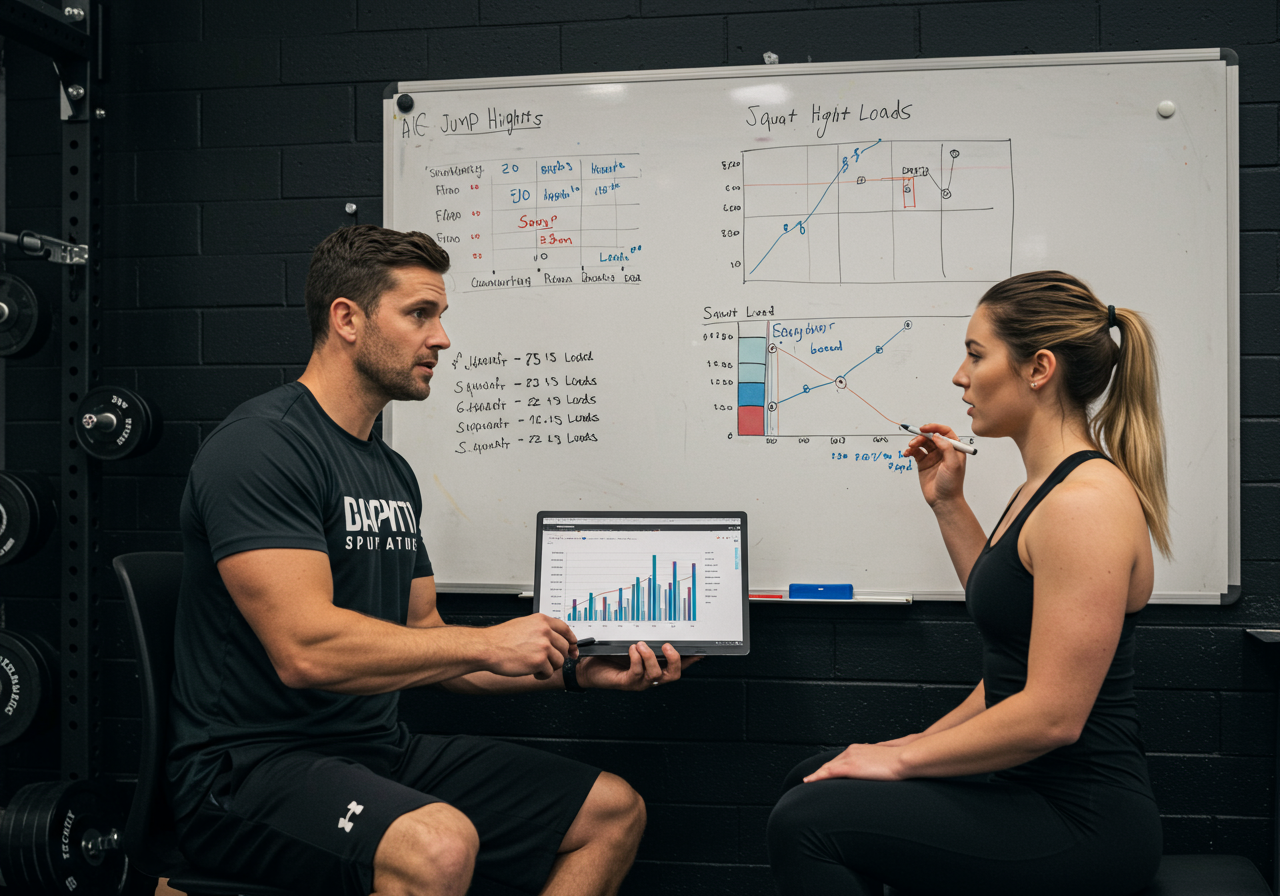
Evidence from my log and client work — long-term result interpretation
I track jump height with weekly averages. I also note bar speeds and RPE.
Across six weeks, my average jump height rose from 37 cm to 41 cm. That equals a 10.8% gain.
My back squat triple improved from 130 kg to 137.5 kg. Sprint splits over 10 meters improved by 4%.
Client Jess, 39, started as a beginner. She learned soft landings in two weeks.
After eight weeks, Jess added 6 cm to her jump. She also lost 4.2 kg while eating more protein.
- “My knees stopped aching after week three.”
- “Short sessions fit my schedule and still felt powerful.”
| Problem | Likely Cause | Action | Outcome Goal |
|---|---|---|---|
| Plateau in jump height | Too many jumps or low intent | Cut volume 30%, add contrast | +1–2 cm in two weeks |
| Knee discomfort | Valgus, stiff ankles | Band cue, ankle mobility | Pain‑free landings |
| Overtraining signs | Poor sleep, high soreness | Deload week, Zone 2 only | Freshness returns |
| Motivation dips | No feedback | Track best jump each day | Visible wins |
- One week at 50% jump volume.
- No loaded jumps that week.
- Keep two short Zone 2 sessions.
We validate results every two weeks. We test three best jumps after the warm‑up.
We also review HRV and soreness. We adjust sets before fatigue runs high.
Consistency builds lasting power. Your landings, numbers, and energy will prove the system.