Bent Over Rows: Effective for Mid-Back Focus
Back Strength Blueprint: Bent-Over Rows as the Anchor
This system builds strong mid-back muscles using bent-over rows as the centerpiece.
I pair rows with hip hinges, vertical pulls, and core work for balance.
This approach improves posture, pulling power, and shoulder resilience quickly.
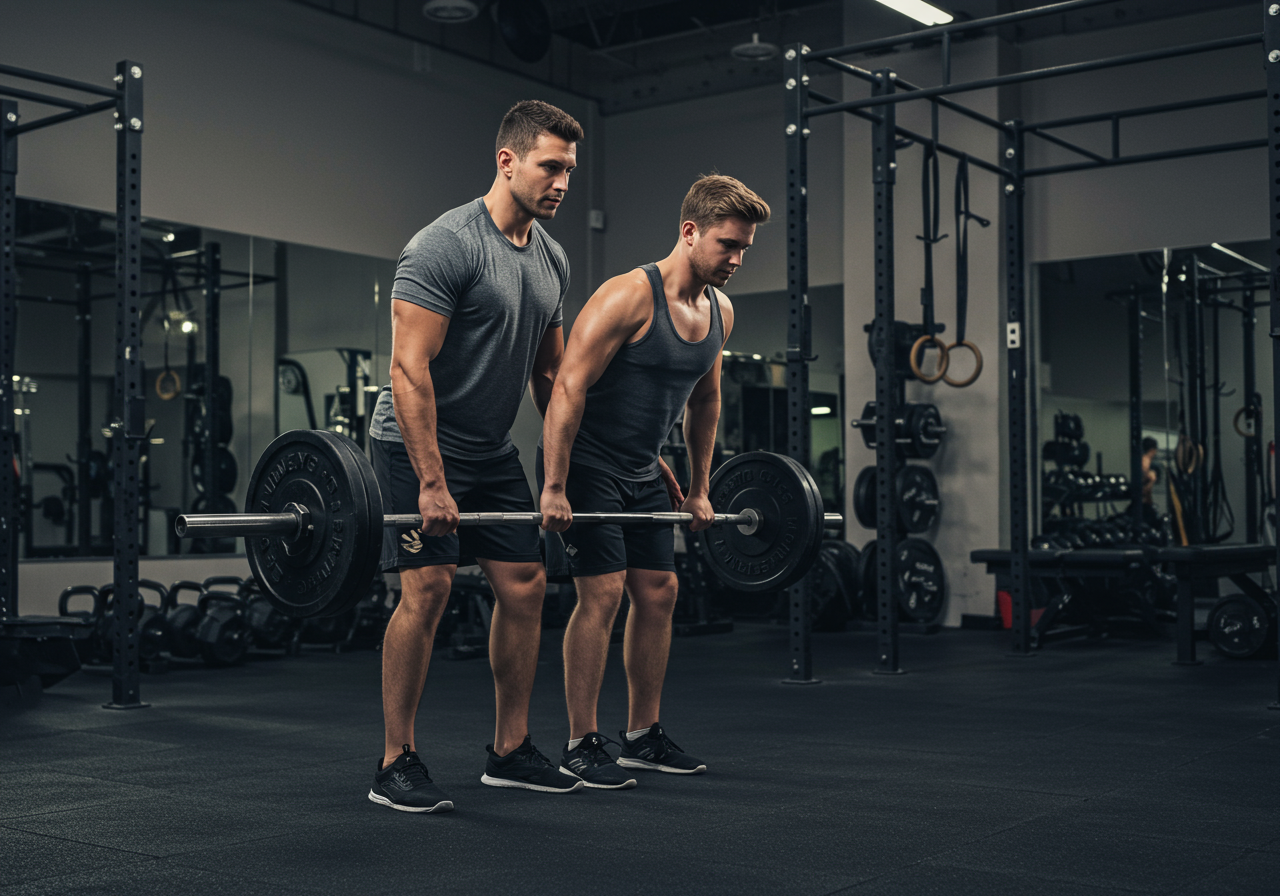
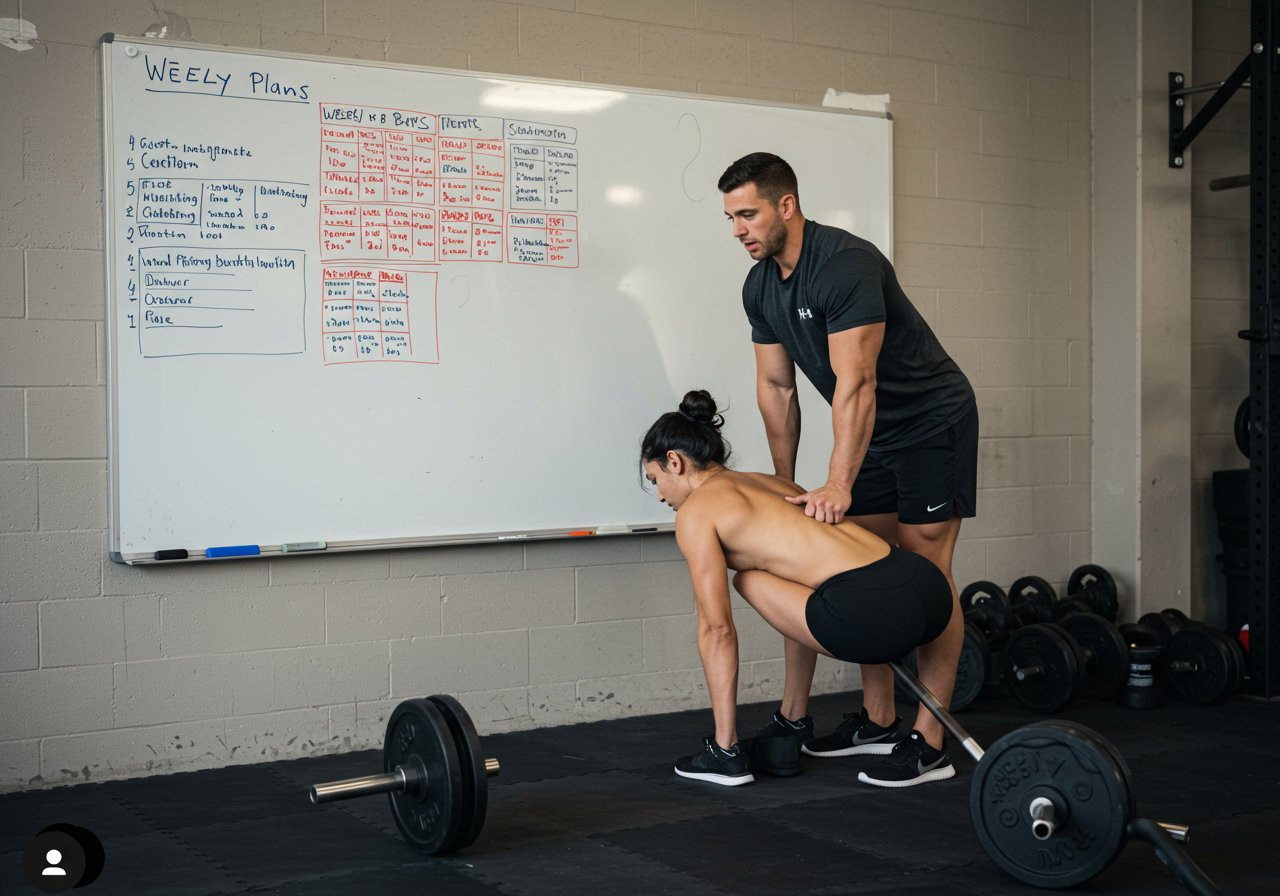
– Hinge at hips, not the spine.
– Keep a neutral spine and firm brace.
– Drive elbows toward hip pockets for mid-back focus.
– Hold the top for one second to bias the mid-back.
– Use straps only after grip limits performance.
I organize the week to train pulling from different angles and speeds.
| Day | Primary Pull | Sets x Reps | Accessory | Rest |
|---|---|---|---|---|
| Mon | Barbell Bent-Over Row | 4 x 6–8 @ RPE 7 | Hip Hinge + Planks | 2–3 min |
| Wed | Chest-Supported Row | 3 x 10–12 @ RPE 8 | Face Pulls + YTWI | 90 sec |
| Fri | Dumbbell Row (2-sec pause) | 3 x 8/side @ RPE 7–8 | Carry + Hamstring Mobility | 2 min |
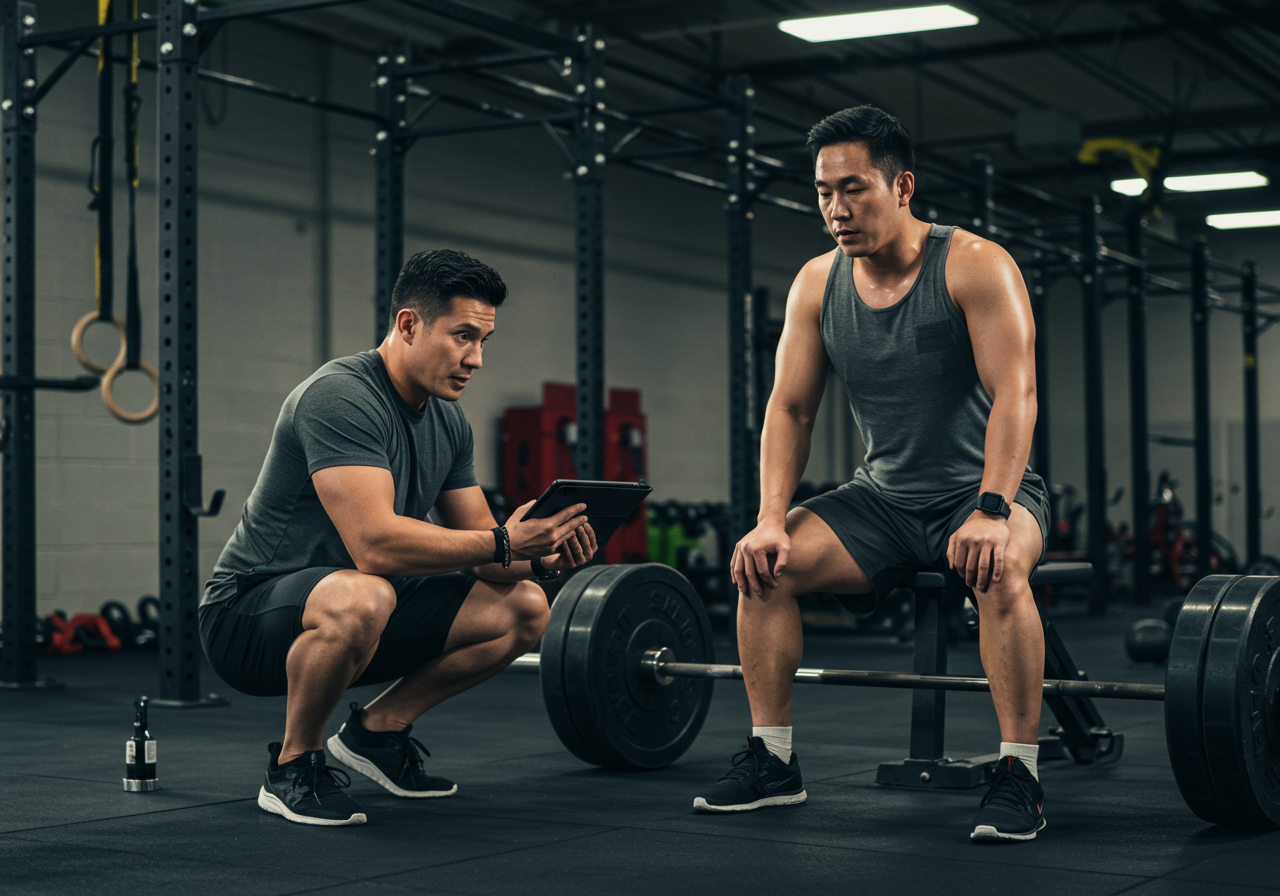
I log sets, reps, and RPE in my notebook and phone.
I pair conditioning in Zone 2 after rows to aid recovery.
Garmin tracks my heart rate and time in zones.
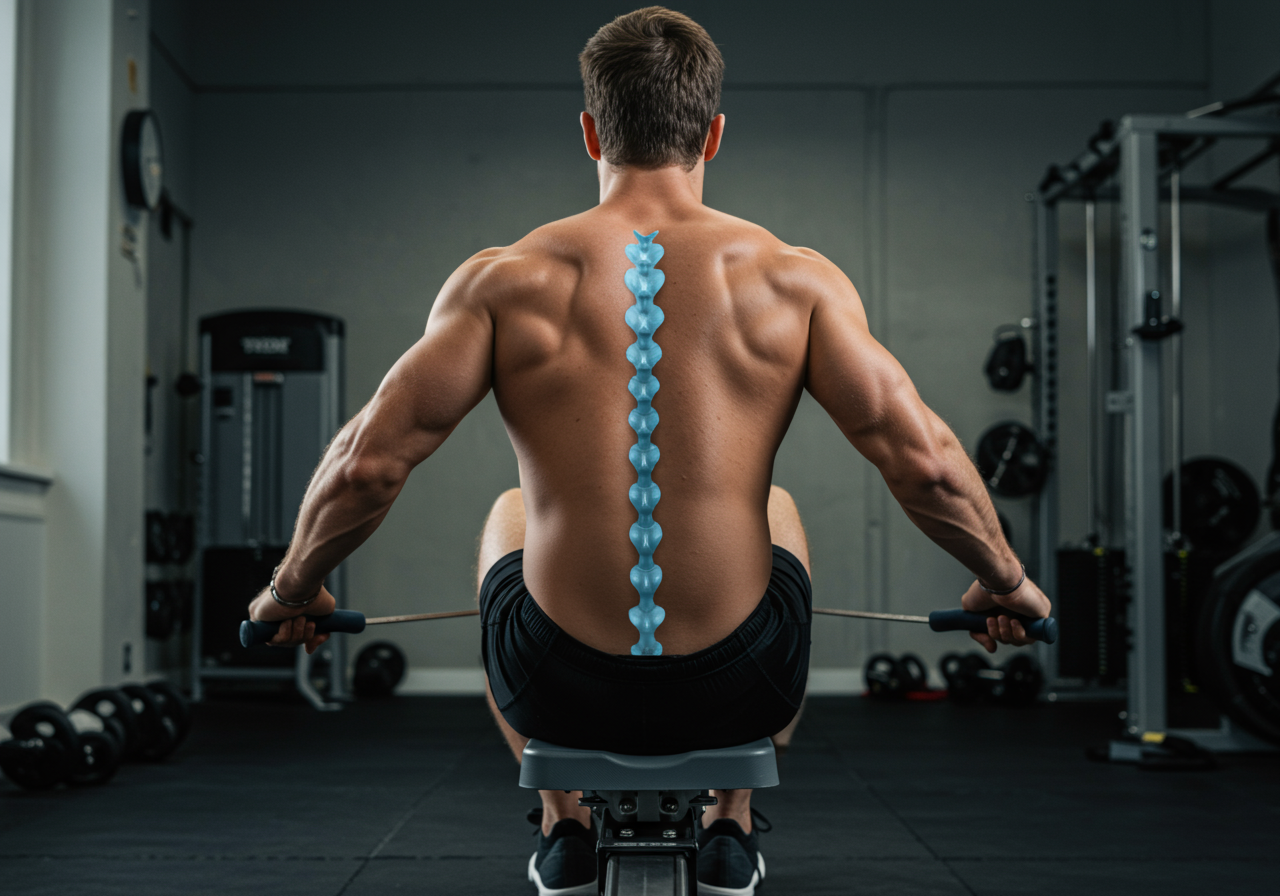
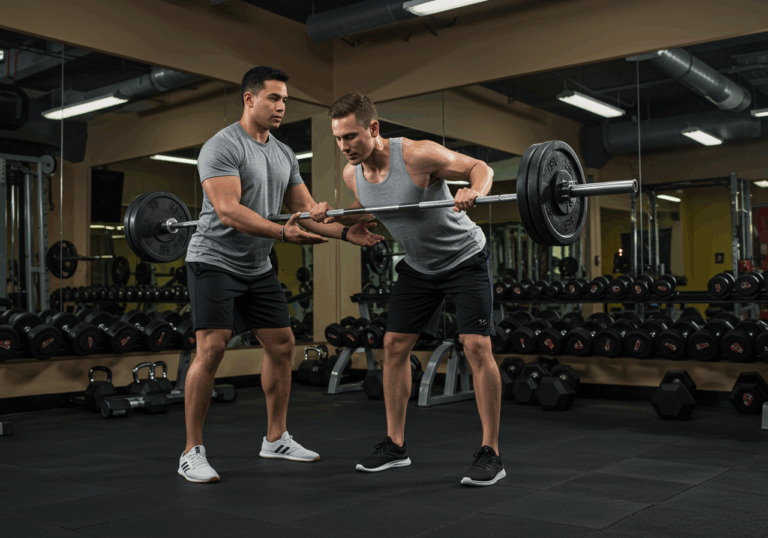
Technique That Targets the Mid-Back
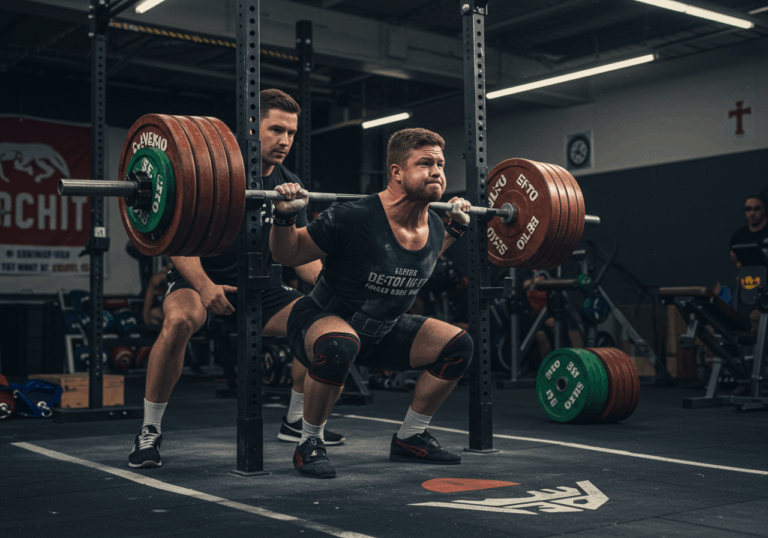
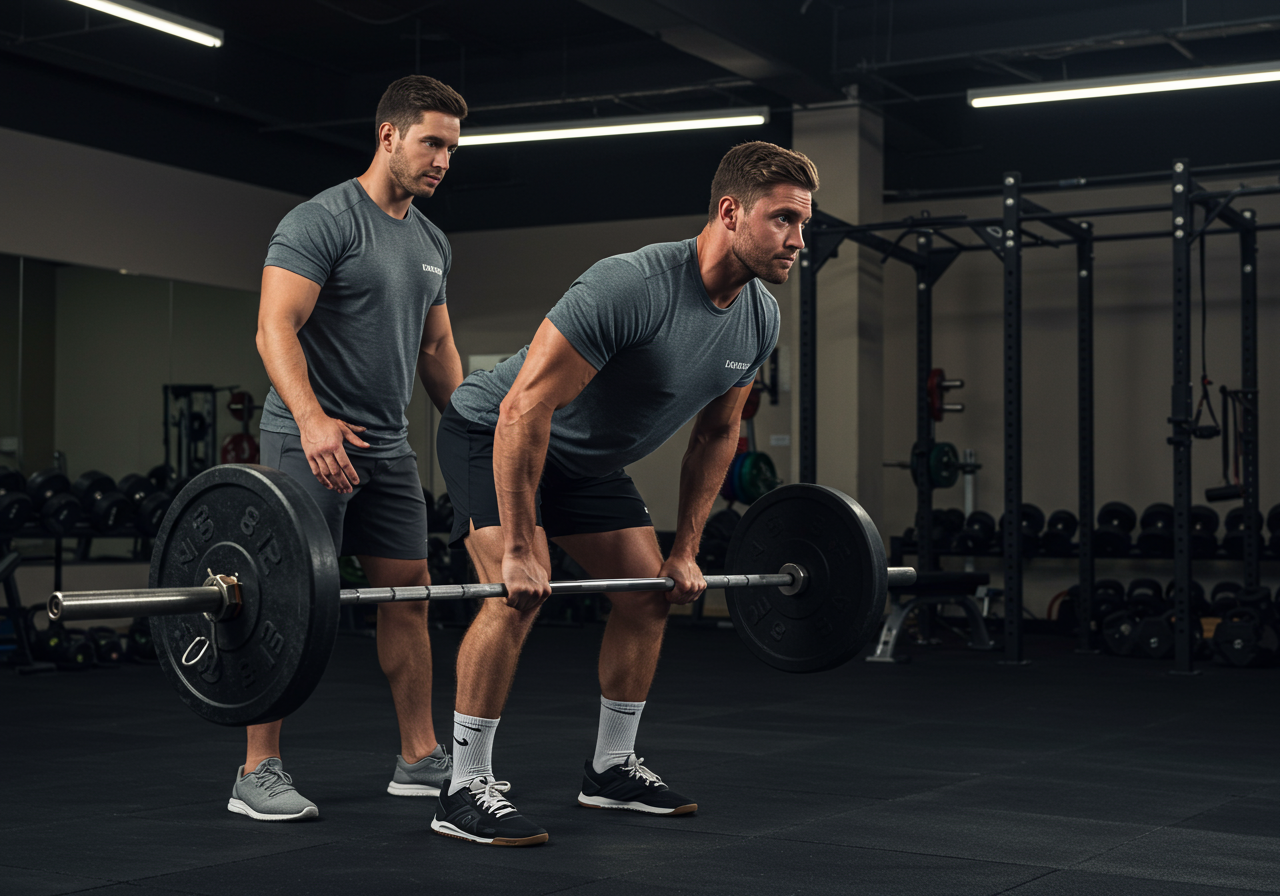
Good setup makes the mid-back work, not the lower back.
Stand hip-width. Hinge until the torso sits at 30–45 degrees.
Lock ribs down. Brace like you will take a punch.
Hold the bar just below the kneecaps. Keep the neck neutral.
Row the bar toward the lower ribs. Lead with elbows, not wrists.
Squeeze shoulder blades together. Pause one second at the top.
Lower the bar under control for two to three seconds.
Reset the brace each rep to protect the spine.
| Grip/Angle | Effect | Use When |
|---|---|---|
| Overhand, shoulder-width | Mid-back bias, easier on biceps | Primary strength sets |
| Underhand, shoulder-width | More lats and biceps, careful on elbows | Hypertrophy blocks |
| Wider than shoulders | Upper back emphasis | Plateaus or variety |
| Torso closer to parallel | More hamstring load, higher row difficulty | Advanced sessions |
– Do not round the lower back.
– Do not jerk the bar from the floor.
– Do not shrug during the pull.
– Stop if you feel sharp pain.
I once skipped my warm-up and strained my right erector.
I learned to breathe and brace before every set.
Progression Roadmap From Beginner to Advanced
Strategic overload drives strength and muscle growth.
I increase volume first, then load, and finally speed or density.
| Level | Prescription | Progress Metric |
|---|---|---|
| Beginner | 3 x 8 @ RPE 6–7; add 2.5 kg weekly | Hit 24 quality reps |
| Intermediate | 4 x 6 @ RPE 7–8; double progression | Reps 6→8, then +2.5–5 kg |
| Advanced | 5 x 5 @ RPE 8; add pauses or tempo | Maintain bar speed |
W1: 4 x 8 @ 65% 1RM (2-1-2 tempo).
W2: 5 x 6 @ 70%.
W3: 5 x 5 @ 75% with 1-sec pause.
W4: 3 x 10 @ 60% deload.
I track RPE and tonnage to guide increases.
| Overload Method | How to Use | When |
|---|---|---|
| Double progression | Add reps within range, then add load | Most of the year |
| Rest-pause | One set to RPE 9, rest 20 sec, add mini-set | Hypertrophy blocks |
| Tempo eccentrics | 3–4 sec lowers for control and stimulus | Technique rebuild |
Here is my recent training block with exact numbers.
Session duration: 48 minutes. Row density: 18 sets across the week.
Loads: 70 kg x 8, then 72.5 kg x 8, then 75 kg x 7.
Week 4 top set: 80 kg x 6 at RPE 8.5.
Heart rate averaged 118 bpm during rows, measured by Garmin.
Conditioning finisher: 12 minutes Zone 2 on the bike at 135–140 bpm.
I log food in MyFitnessPal to support progressive overload.
Recovery, Mobility, and Fueling for Strong Pulls
Recovery locks in the gains from hard rowing sessions.
I keep protein high and sleep long enough to grow.
| Element | Target | Notes |
|---|---|---|
| Protein | 1.6–2.2 g/kg/day | Spread over 3–5 meals |
| Carbs | 3–5 g/kg/day | More on heavy days |
| Fats | 0.6–1.0 g/kg/day | Keep fiber adequate |
| Sleep | 7.5–9 hours | Consistent schedule |
| Creatine | 3–5 g daily | Increase strength output |
– 30 g protein within two hours post session.
– 500–700 ml fluids with electrolytes.
– 10 minutes Zone 2 cooldown.
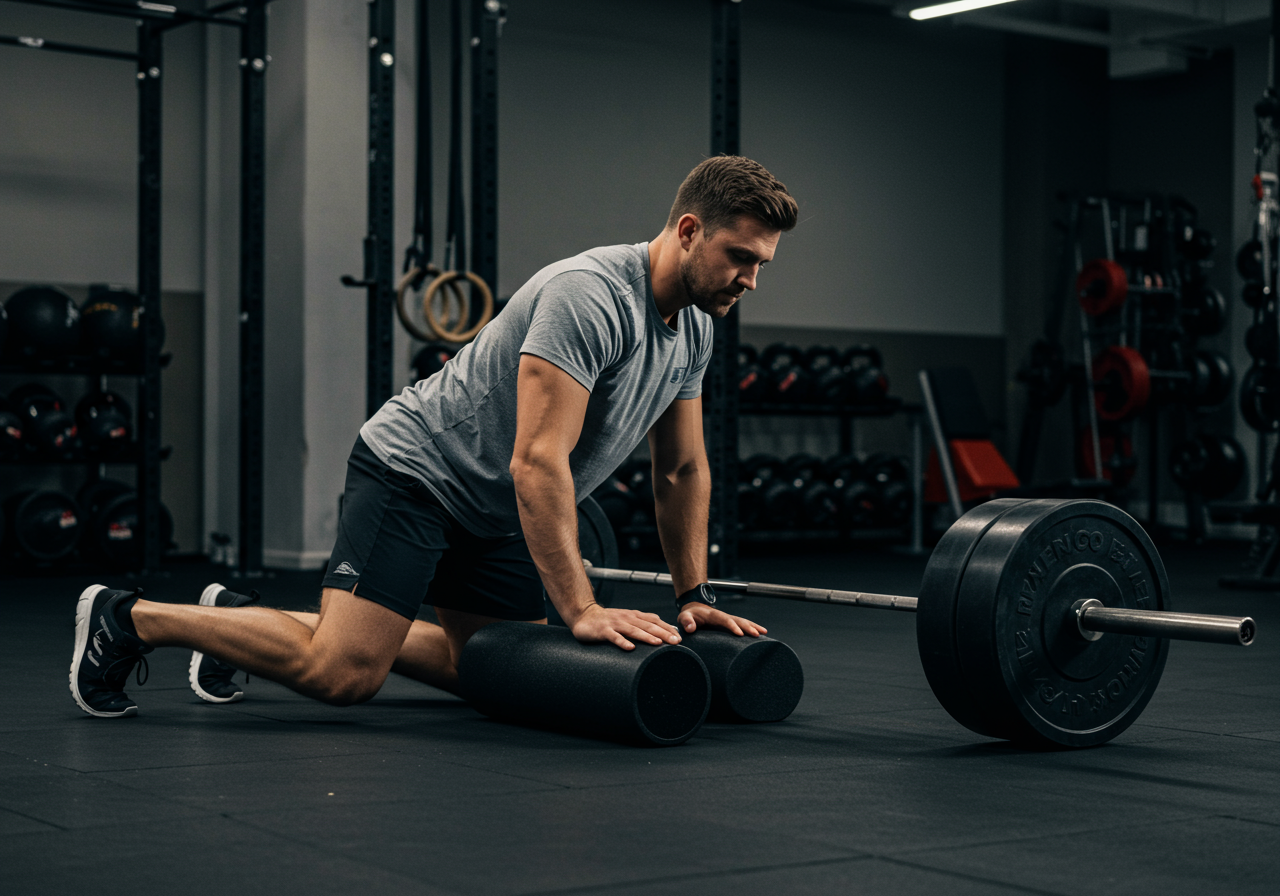
I plan warm-ups to protect my spine and shoulders.
| Warm-up/Cooldown | Sets x Reps/Time | Purpose |
|---|---|---|
| Cat-Camel + T-Spine Extensions | 2 x 8 each | Mobilize the spine |
| Hip Hinge Drill with Dowel | 2 x 10 | Groove row position |
| Band Face Pulls | 2 x 12 | Prime mid-back |
| Breathing Reset (90/90) | 2 minutes | Release back tension |
I track food and recovery using MyFitnessPal and Garmin Body Battery.
Links: Garmin, MyFitnessPal.
Proof of Progress, Real Stories, and Fixes for long-term result interpretation
Data confirms that this plan builds strong mid-backs.
My eight-week cycle raised my top set from 70 kg x 8 to 85 kg x 8.
Bodyweight stayed steady, yet back thickness improved visually.
Garmin reported VO2 max up ~8% from added Zone 2 rides.
HIIT drop sets raised fatigue too much, so I used them sparingly.
Steady Zone 2 between strength days improved recovery better than HIIT.
– Dana, beginner: 30 kg x 8 to 45 kg x 8 in 6 weeks.
– Marcos, desk worker: pain-free posture after 4 weeks of bracing practice.
| Metric | Start | Week 6–8 | Tool |
|---|---|---|---|
| Bent-Over Row Top Set | 70 kg x 8 | 85 kg x 8 | Training log |
| Average RPE | 7.5 | 7.8 | RPE scale |
| VO2 Max | 43 ml/kg/min | 46–47 ml/kg/min | Garmin |
| Waist Circumference | 86 cm | 83.5 cm | Tape |
Testimonials validate both feel and function.
“My shoulders feel open now,” Maya shared after four weeks of paused rows.
“The brace cue fixed my back tightness,” said Jordan, a remote client.
– Early fatigue: reduce sets by one and improve sleep.
– Elbow pain: use neutral grip dumbbells and lighter tempo work.
– Lower back ache: raise torso angle and shorten range slightly.
– Motivation dip: track PRs in Strava notes for quick wins.
I record workouts and recovery in Strava and Garmin daily.
Link: Strava.