
CrossFit: Strength+Cardio, Full-Body Intense Training
CrossFit Strength+Cardio System: Principles and Setup
Foundational principles for a balanced CrossFit strength and cardio system
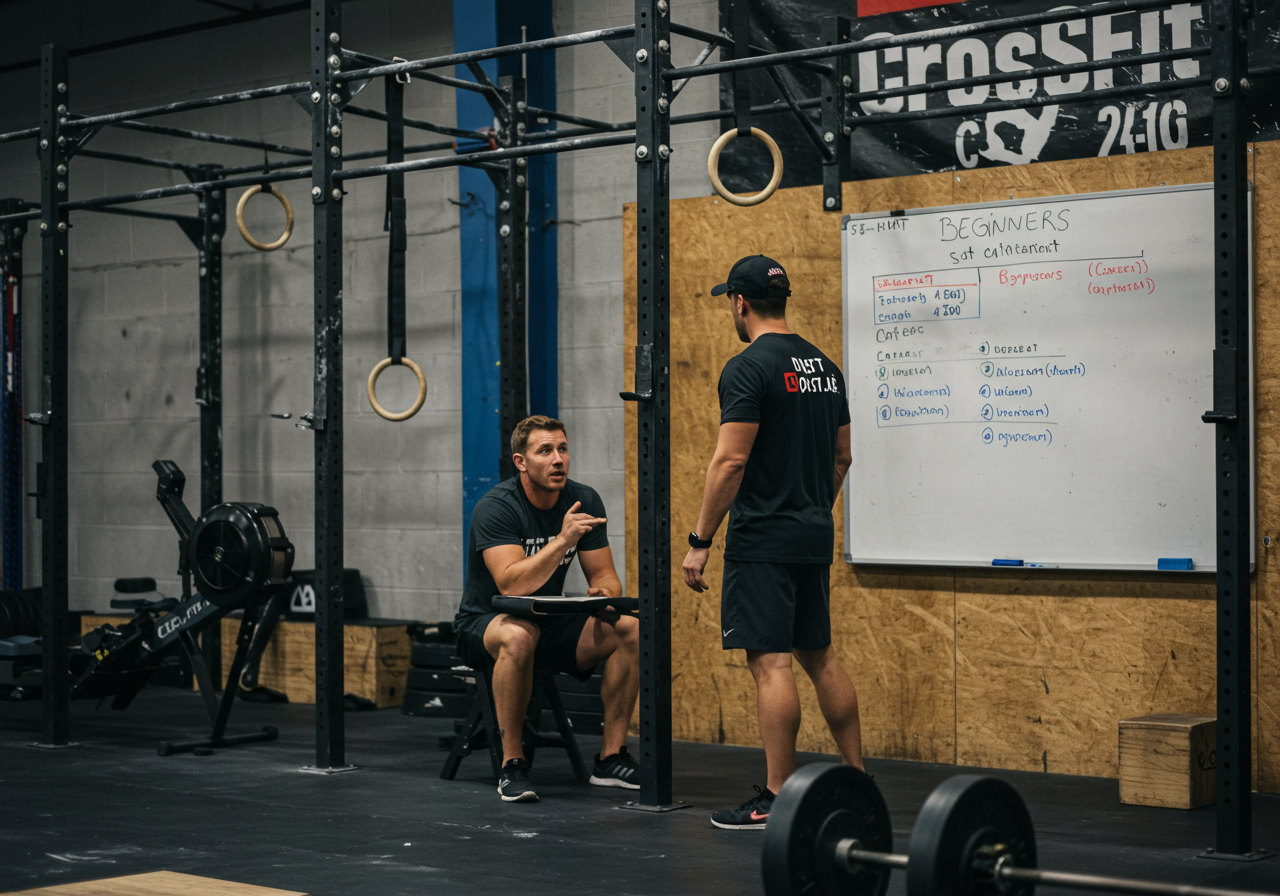
This program blends heavy lifts with fast conditioning pieces. It targets full-body strength and heart health together. Sessions follow a simple structure for new athletes. Each component builds capacity without overwhelming your recovery.
This structure uses clear blocks. Warm-up lasts 8–10 minutes and raises core temperature. Strength work lasts 12–20 minutes and builds muscle and skill. Metcon work lasts 6–15 minutes and pushes conditioning safely. Cooldown lasts 5–10 minutes and restores breathing and mobility.
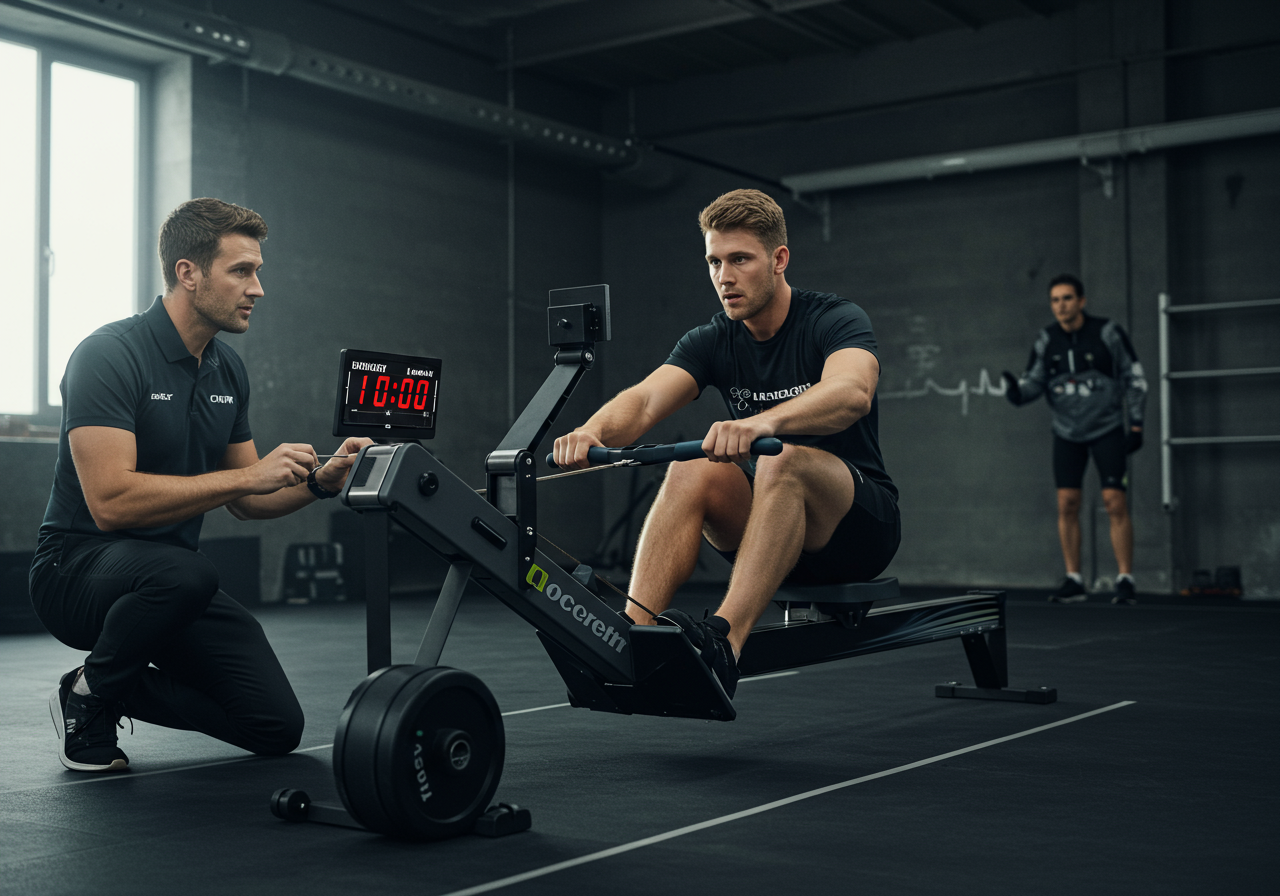
This method prioritizes movement patterns. We train squat, hinge, push, pull, lunge, and carry every week. We also rotate monostructural cardio. Rowing, bike, running, and jump rope each support different demands. Heart rate zones guide intensity with precision for safety.
- Prioritize form before speed or load.
- Use 80% easy to moderate sessions and 20% hard efforts weekly.
- Progress one variable at a time: load, reps, or time.
- Anchor intensity with heart rate zones or RPE.
- Respect movement balance across the week.
| Session Block | Target | Time | HR Guide | Example |
|---|---|---|---|---|
| Warm-up | Movement prep | 8–10 min | Zone 1–2 | Bike easy + mobility |
| Strength | Neural drive | 12–20 min | Zone 2 | Front squat 5×3 @ RPE 7 |
| Metcon | Glycolytic power | 6–15 min | Zone 4–5 | 12 min AMRAP: row, burpees |
| Cooldown | Downregulation | 5–10 min | Zone 1 | Breathing + stretch |
- Warm-up: 6 minutes easy row, world’s greatest stretch.
- Strength: Goblet squat 4×8 @ RPE 6, 60 seconds rest.
- Metcon: 10 minutes EMOM alternating 10 kettlebell swings and 8 burpees.
- Cooldown: 4 minutes nasal breathing and calf stretch.
- Screen shoulders, hips, and ankles with light ranges first.
- Stop if you feel dizzy, numb, or sharp joint pain.
- Keep the first two weeks conservative on load and pace.
Progressions: Weeks 1–12 Programming for Every Level

Structured progressions deliver safe gains across 12 weeks
This roadmap shows clear steps for beginners, intermediates, and advanced athletes. It increases stress gradually while protecting recovery. The plan uses load, density, and skill progressions. It includes scheduled deloads to prevent burnout and plateaus.
This schedule follows three training days weekly. Monday pairs strength with a short metcon. Wednesday builds aerobic capacity with Zone 2 work. Friday tests mixed pieces with a longer metcon. I coach clients to log every session detail carefully.
- Increase load 2.5–5% when RPE drops by one point.
- Increase total reps by 2–4 each week if form holds.
- Shorten rest by 5–10 seconds to add density.
- Deload volume 30–40% on weeks 4 and 8.
| Level | Monday | Wednesday | Friday | HR Zones |
|---|---|---|---|---|
| Beginner | Front squat 4×5 @ RPE 6; 8 min AMRAP: row 150m + 6 air squats | 30 min brisk walk or bike easy | Deadlift 5×3 @ RPE 6; 10 min EMOM: 8 KB swings + 6 push-ups knees | Mon Z4 peaks; Wed Z2; Fri Z4 |
| Intermediate | Back squat 5×3 @ RPE 7; 10 min AMRAP: 6 burpees + 8 wall balls | 35–40 min Zone 2 run or row | Power clean 6×2 @ RPE 7; 12 min chipper: row 800m, 30 KB swings, 30 sit-ups | Mon Z4–5; Wed Z2; Fri Z4 |
| Advanced | Front squat 6×2 @ 80%; 12 min EMOM: 10 cal bike + 10 toes-to-bar scaled | 45 min Zone 2 with 5x30s Zone 5 strides | Complex: Clean+Front Squat+Jerk 5×1 @ 75–80%; 14 min AMRAP: thrusters, double-unders | Mon Z4–5; Wed Z2 with strides; Fri Z4–5 |
This progression also tracks simple numbers. I record load, reps, and heart rate peak. I also track breathing recovery times. I aim for quick downshifts to Zone 2 within three minutes.
| Weeks | Strength Target | Metcon Target | Notes |
|---|---|---|---|
| 1–3 | RPE 6–7, add 2.5–5% | 6–10 minutes, Zone 4 | Technique focus |
| 4 | Deload 30–40% | Short and easy | Recover fully |
| 5–7 | RPE 7–8, add reps | 8–12 minutes, Zone 4–5 | Density work |
| 8 | Deload 30–40% | Aerobic only | Reset |
| 9–12 | RPE 8, test week 12 | 10–15 minutes, benchmark | Peaking |
12 minute AMRAP: 12 kettlebell deadlifts, 9 push-ups elevated, 6 calorie row. Keep breathing steady.
- Increase only one variable per session.
- Hold technique standards when fatigue rises.
- Respect deloads or progress will stall.
Energy Systems in Action: Pace, Power, and Endurance
Targeted intervals train each energy system efficiently
This section connects workouts to physiology for clarity. It explains how short and long efforts tax different systems. It also shows how pacing preserves power and prevents burnout. We use heart rate and RPE to guide each effort.
This approach uses three buckets. Short phosphagen efforts build explosive output. Medium glycolytic efforts raise hard breathing tolerance. Long oxidative efforts develop aerobic capacity and recovery. We rotate these within the week intentionally.
- Phosphagen supports 5–15 second sprints and heavy lifts.
- Glycolytic supports 30–120 second high power bursts.
- Oxidative supports efforts longer than three minutes.
| System | Prescription | HR Zone | Example Metcon | Progression |
|---|---|---|---|---|
| Phosphagen | 6–10 rounds: 10s all-out, 50–60s rest | Z5 peak | Assault bike sprints | Add one round weekly |
| Glycolytic | 8–12 rounds: 45s hard, 45s easy | Z4–5 | Row 45/45 with damper moderate | Extend work by 5s |
| Oxidative | 20–45 minutes steady | Z2 | Easy run or bike | Add 5 minutes weekly |
This pacing strategy reduces redlining. I watch breathing cues and cadence closely. I also log mean wattage and drop-off. I keep drop-off under 10% on intervals.
12x45s hard, 45s easy at 24–28 spm. Aim for negative split. Track average watts each rep.
- Limit maximal efforts to two weekly.
- Stop the set if power drops over 15%.
- Use nasal breathing for easy days to enforce Z2.
Fueling, Recovery, and Mobility that Support Results

Smart nutrition and recovery protect progress and joints
This plan prioritizes protein, carbs, sleep, and hydration. It matches fuel to workload without confusion. It also sets mobility habits that prevent common injuries. I track these habits like I track squats and rows.
This nutrition setup uses simple ranges. Protein sits at 1.6–2.2 g per kilogram daily. Carbs range from 3–6 g per kilogram on training days. Fats sit near 0.8 g per kilogram. I adjust based on body composition and energy.
| Bodyweight | Protein | Carbs (train/rest) | Fats | Example Day |
|---|---|---|---|---|
| 75 kg | 120–165 g | 300/200 g | 60 g | Oats, chicken rice, yogurt, fruit |
This recovery plan uses clear anchors. Sleep targets 7–9 hours nightly. Hydration targets 30–40 ml per kilogram daily. Sodium increases on hot or sweaty days significantly. I add 3–5 g creatine daily for strength support.
- Track macros with MyFitnessPal.
- Track heart rate and VO2 max with Garmin.
- Share workouts socially on Strava.
- Five minutes diaphragmatic breathing, 4 seconds in, 6 seconds out.
- Ten minutes hips and thoracic mobility flow.
- Five minutes calves and lats stretch on foam roller.
- Avoid weight loss over 1% per week to protect performance.
- Do not train hard on under six hours of sleep.
- Replace 500–1000 ml fluids per hard session, add electrolytes.
This lesson came from a mistake. I once skipped warm-up before sprints and strained a calf. I now warm up 10 minutes always. My clients adopted this rule and reported fewer niggles over months.
Proof and Tracking: Real Results and Sustainable Routine Maintenance

Validated outcomes, client stories, and sustainable routine maintenance
This section shows real results using this framework. It includes my data and client outcomes. It also outlines testing that verifies progress. These checks keep motivation high and training honest.
This is my six-week data from a spring cycle. Sessions averaged 45 minutes excluding warm-up. Strength blocks used RPE 6–8. Metcons averaged 9–12 minutes at Zone 4.
| Metric | Start | Week 6 | Change | Tool |
|---|---|---|---|---|
| VO2 max | 46 ml/kg/min | 49.7 ml/kg/min | +8% | Garmin |
| 5k run time | 24:10 | 22:45 | -1:25 | Strava |
| Deadlift 5RM | 140 kg | 150 kg | +10 kg | Gym log |
| Resting HR | 58 bpm | 53 bpm | -5 bpm | Garmin |
This comparison showed fat loss differences. HIIT metcons outperformed steady-state for fat loss at equal calories. However, Zone 2 improved recovery and sleep significantly. I now blend both methods intentionally.
- Maya, beginner: “I lost 4.6 kg in 10 weeks. I went from one push-up to ten.”
- Dan, 42: “Scaled cleans saved my back. I built to 80 kg pain-free.”
- Leah, busy parent: “30 minute sessions fit my life. I still set PRs monthly.”
| Test | Protocol | Frequency | Pass Marker |
|---|---|---|---|
| Benchmark Metcon | 12 min AMRAP: row, burpees, squats | Every 4 weeks | +10–15% reps |
| Strength 5RM | Back squat and deadlift | Every 6 weeks | +2.5–5 kg |
| Aerobic check | 30 min Z2 with nasal breathing | Monthly | Lower average HR |
- Day 1: Re-test benchmark metcon.
- Day 3: Test one 5RM lift only.
- Day 5: Perform 30 minute Zone 2 check.
- Skip PR attempts after poor sleep or illness.
- Stop if technique degrades under fatigue.
- Use effort caps to prevent overreaching.
This framework ties every part together. Strength supports power in metcons. Cardio improves recovery between heavy sets. Nutrition and sleep turn sessions into lasting adaptations. Regular testing confirms that progress remains real and sustainable.