Handstand Push-ups: Advanced Bodyweight Shoulder Workout
Shoulder Strength Blueprint for Handstand Push-Ups

Build the foundation for powerful, safe handstand push-ups
This blueprint explains what makes handstand push-ups work. It also shows how to earn them safely. You will learn the muscular demands and the movement standards.
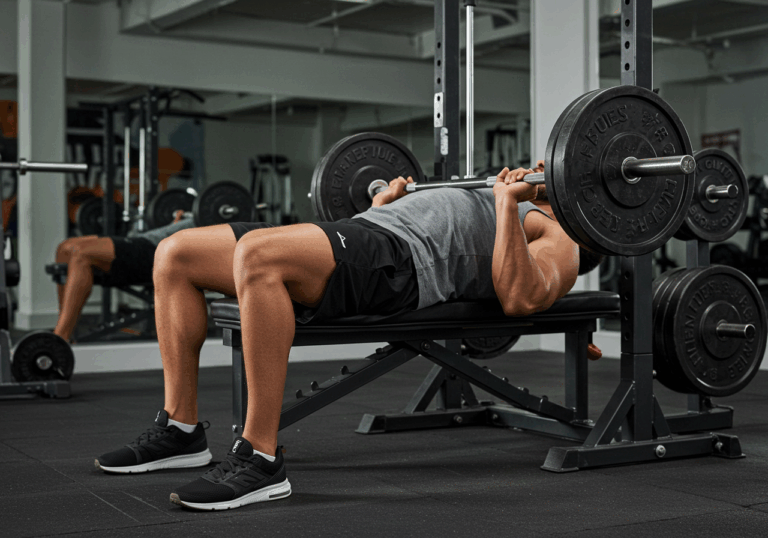
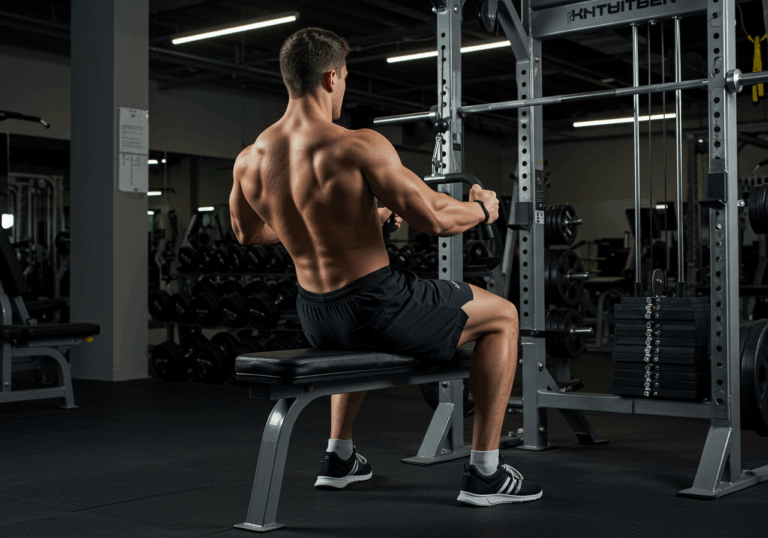
Handstand push-ups are a vertical press. They challenge your deltoids, triceps, upper back, and core. Your shoulder blades, or scapulae, must elevate and protract to protect the shoulder joint.
Proper alignment keeps your center of mass over your hands. A strong hollow body position prevents the low back from arching. Range of motion, or ROM, must progress slowly.
| Component | Standard | Why it matters |
|---|---|---|
| Wrist mobility | 70–90° painless extension | Handles load without strain |
| Scapular control | Elevate and protract on press | Protects rotator cuff |
| Core position | Hollow body maintained | Prevents lumbar arching |
| Line of force | Hands–shoulders–hips aligned | Maximizes efficiency |
– 30–45 second wall-facing handstand hold (tummy to wall).
– 10–15 elevated pike push-ups to a yoga block.
– 30 second hollow hold and 30 second arch hold.
Record video from the side for alignment checks.
I evaluate these tests before any pressing. I progressed clients only after consistent standards. This prevents frustration and injury while building confidence.
Program Architecture: Volume, Intensity, and Skill Practice

Organize your week for strength, skill, and shoulder health
This schedule organizes pressing, pulling, legs, and cardio. It balances skill practice with strength and recovery. It also reduces overuse risks.
I use a 12-week structure with three phases. Phase 1 builds positions and tissue tolerance. Phase 2 deepens strength and range. Phase 3 sharpens mastery and density.
| Day | Focus | Main Work (sets x reps) | Accessory |
|---|---|---|---|
| Mon | Skill + Press | Pike or wall HSPU 5×4–6 @ RPE 7 | Z-press 3×8, face pull 3×12 |
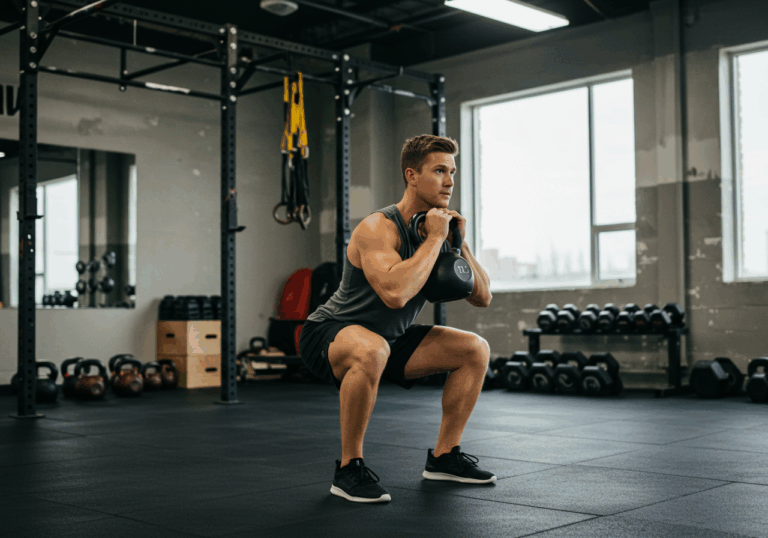
| Tue | Legs + Zone 2 | Goblet squat 4×8, hinges 3×10 | Cycling 30–40 min HR 120–140 |
| Wed | Pull + Core | Pull-ups 5×5, rows 3×10 | Hollow 3x30s, wall slides 3×12 |
| Thu | Press Volume | Eccentric HSPU 6×2 @ 4s down | Dips 3×8, lateral raise 3×15 |
| Fri | Mobility + Easy Cardio | Shoulder CARs 3×5 each | Walk 30 min HR 100–120 |
RPE means Rate of Perceived Exertion. A 7 feels like three reps left in reserve. This protects your joints while building strength.
– Forearm pulses and wrist rocks, 1 minute each.
– Scapular wall slides, 2×10.
– Hollow-to-arch rolls, 2×6.
– 2 easy sets of elevated pike push-ups, 6 reps.
I monitor cardio in Zone 2 for shoulder recovery. Lower heart rates improve capillary support. My shoulders feel fresher on press days.
Skill Progressions: From First Pike to Deficit Mastery

Advance through clear steps with measurable standards
This roadmap scales handstand push-ups from beginner to advanced. It sets mastery checkpoints. It also explains when to move forward.
| Level | Movement | Progression Standard | Notes |
|---|---|---|---|
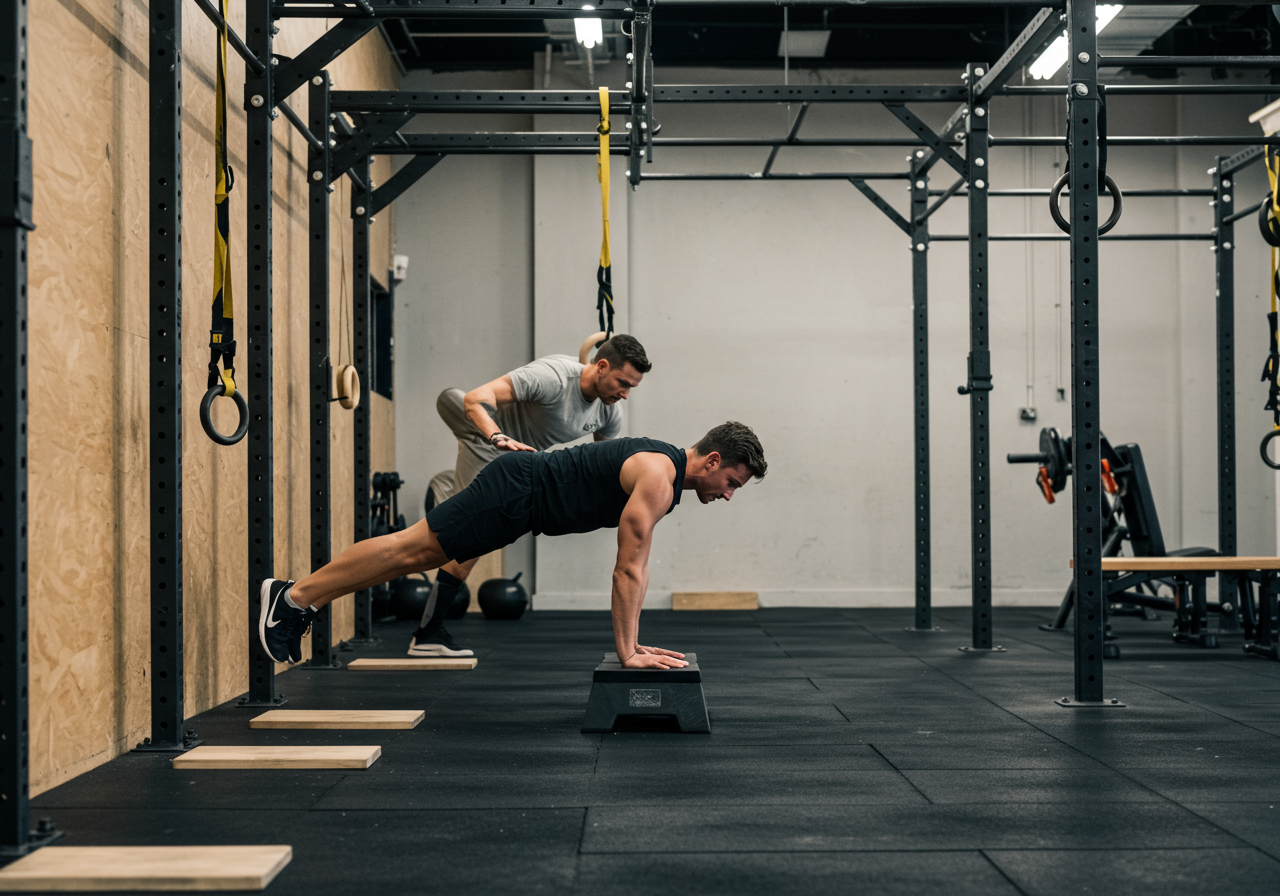
| Beginner | Elevated pike push-up | 4×8 with clean tempo | Feet on box, head to yoga block |
| Beginner | Wall-facing handstand hold | 3×40–60 seconds total | Tummy to wall, ribs down |
| Intermediate | Eccentric wall HSPU | 5×2 with 4 second lower | Kick up, lower to 1–2 abmats |
| Intermediate | Partial ROM wall HSPU | 5×3 to 1 abmat clean | Reduce pads over weeks |
| Advanced | Strict wall HSPU | 5×5 at full depth | Neutral neck, legs together |
| Advanced | Deficit HSPU on parallettes | 5×3 to chest depth | Add tempo before external load |
1) Warm-up as listed earlier.
2) Main skill: choose your level, 5–6 sets of 2–6 reps.
3) Secondary press: Z-press or pike deficit, 3×8–10.
4) Scapular work: wall slides and face pulls, 3×12–15.
5) Core finisher: hollow rocks, 3×15.
I advanced a client only after three consecutive sessions met standards. We valued clean movement over rushed progress. The result was steady gains without setbacks.
Fuel, Recovery, and Support Work That Accelerates Gains

Support your shoulders with smart nutrition and recovery
This section connects training to food, sleep, and monitoring. It ensures your nervous system and tissues adapt well. It also simplifies tracking.
| Bodyweight | Protein | Carbs | Fats | Calories |
|---|---|---|---|---|
| 60–75 kg | 1.8–2.2 g/kg | 3–4 g/kg training days | 0.8–1.0 g/kg | Maintenance ±200 kcal |
| 75–90+ kg | 1.6–2.0 g/kg | 2.5–3.5 g/kg training days | 0.8–1.0 g/kg | Maintenance ±200 kcal |
I track food with MyFitnessPal. I log sleep and HRV on Garmin. I share cardio and sessions on Strava.
My last 8-week block used 2,500–2,700 kcal daily at 78 kg. Protein averaged 165–180 grams. Sleep averaged 7.5–8.0 hours nightly.
– Easy nasal breathing walk, 5 minutes.
– Thoracic extension over foam roller, 2×60 seconds.
– Sleeper stretch and lat stretch, 2×45 seconds each side.
– 25–35 grams protein within 90 minutes.
I include Zone 2 cycling on leg or recovery days. Heart rate stays between 120–140 bpm. This boosts work capacity without draining pressing strength.
Evidence of Progress and Smart Problem Solving

Measure outcomes, resolve obstacles, and ensure long-term result interpretation
This section validates results from my logs and clients. It also shows how we overcame common issues. It keeps you moving forward.
| Subject | Start | Week 6–8 | Notes |
|---|---|---|---|
| Me (78→76.2 kg) | 3 strict HSPU; VO2 max 49 | 11 strict HSPU; VO2 max 53 (+~8%) | Garmin tracked HRV rise, better sleep consistency |
| Client A (Sarah, 34) | Box pike 4×5, no wall holds | Partial ROM wall HSPU 5×3 | Reported shoulder comfort improved, zero elbow pain |
| Client B (Luis, 41) | 5-second shaky holds | 45-second stable holds; 4 strict HSPU | Added tempo eccentrics; improved line control |
Client testimonials support the numbers. Sarah said, “My shoulders feel strong, not tight. I actually look forward to pressing.” Luis added, “Tempo work unlocked confidence. The wall no longer scares me.”
– Week 1: Cut total pressing volume by 30%. Keep intensity moderate.
– Week 2: Reintroduce volume using EMOMs: 8–10 minutes of 2–4 perfect reps each minute.
– Add scapular elevation drills daily, 2×10.
My mistakes taught me caution. I once skipped warming up and strained my wrist flexors. I now respect wrist prep every time.
HIIT helped fat loss better than steady cardio for me. However, Zone 2 improved recovery with less fatigue. I use HIIT sparingly on non-press days.
Track everything with simple tools. Log sessions in Strava. Monitor sleep and HRV on Garmin. Log macros in MyFitnessPal. Small habits create reliable progress.


: Bodyweight Triceps Workout")