
Rucking Guide: The Science of Loaded Walking, Cardiovascular Benefits, and How to Start
Walking is underestimated. Most trainees treat it as something between exercise and not exercising, less demanding than running but more purposeful than standing. They are partly right. Unloaded walking at a comfortable pace is not a significant cardiovascular training stimulus for most fit adults.
Add a weighted backpack and everything changes. The cardiovascular demand increases significantly without the impact forces of running. The posterior chain, calves, and upper back receive a sustained loaded stimulus that unloaded walking cannot provide. The metabolic cost rises in direct proportion to the load carried. The result is a training modality that sits in a genuinely useful position between walking and running, accessible to almost any fitness level, adaptable to almost any environment, and requiring almost no specialised skill.
Rucking, the practice of walking with a weighted backpack, forms the foundation of military fitness training across centuries. In the last decade it has entered mainstream fitness programming as coaches and trainees have recognised its unique combination of accessibility, cardiovascular stimulus, and low injury risk. This guide covers the physiology of loaded walking, what the research shows about its metabolic demands, how to start, equipment, and an 8-week progressive rucking programme.
Why Rucking Produces a Different Stimulus Than Walking or Running
The Physiology of Load Carriage
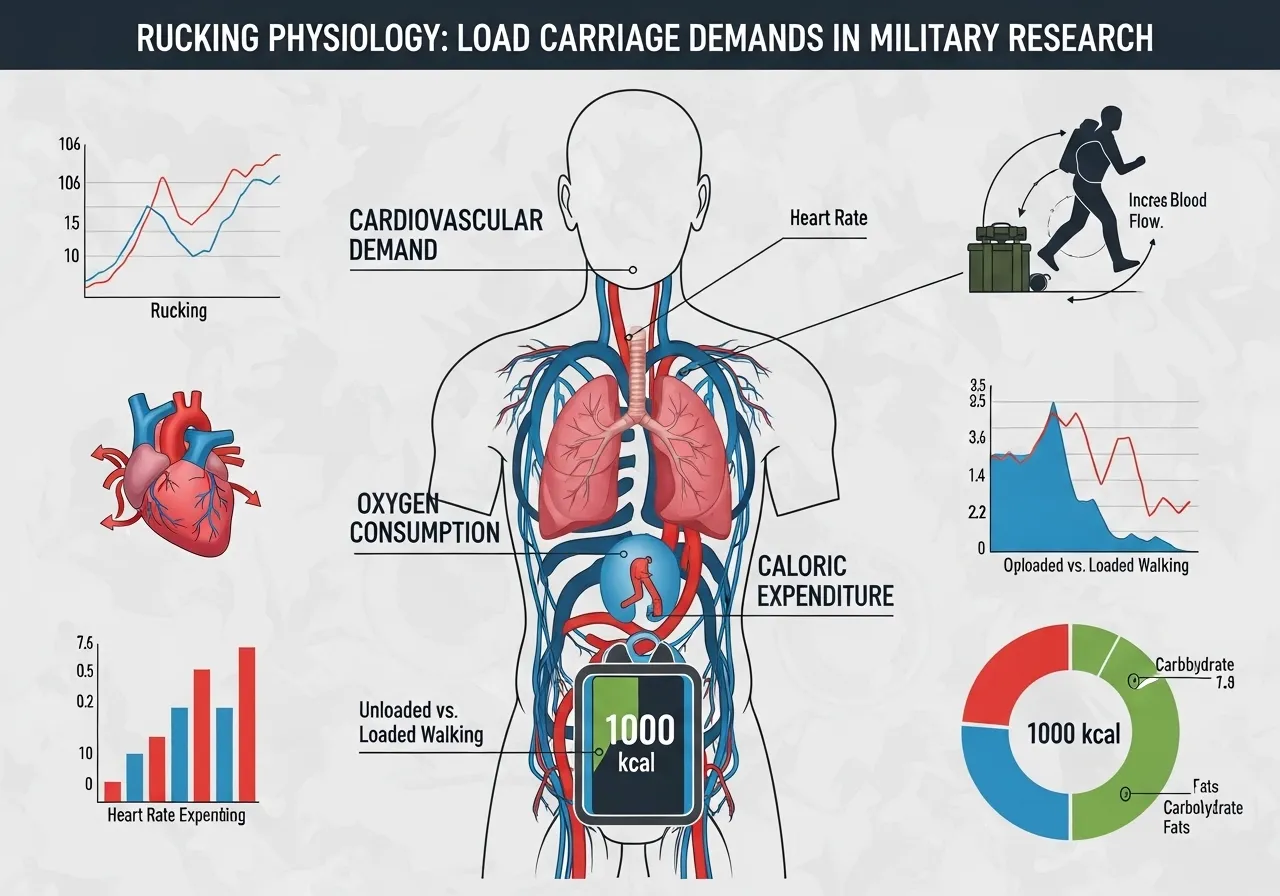
A review examining the physiological impact of load carriage exercise found that load carriage exercise produces significant cardiovascular system demand including elevated heart rate, increased oxygen consumption, and greater metabolic cost compared to unloaded walking at the same speed, with the load placement on the thoracic cavity also creating respiratory system challenges as chest wall restriction from a loaded rucksack impedes respiratory mechanics during the inspiratory and expiratory cycle, adding a respiratory demand component that unloaded walking does not produce.
Load carriage elevates cardiovascular demand, oxygen consumption, and metabolic cost above unloaded walking at the same speed. The load also creates a respiratory demand from chest wall restriction that is unique to rucking and absent from all other walking-based training.
Caloric Expenditure: The Military Research
Research on military rucking performance found that rucks are energy intensive physical events that can expend approximately 1000 kilocalories per hour, contributing significantly to the wide range of total daily energy expenditure observed in active soldiers of 3000 to 7000 kilocalories per day, establishing rucking as one of the highest caloric expenditure activities available at walking speeds when load is sufficient.
Heavy military rucking can expend up to 1000 kcal per hour. Recreational rucking at moderate loads of 10 to 15 kg produces caloric expenditure approximately 50 to 70% higher than unloaded walking at the same speed, making it significantly more metabolically efficient than standard walking for fitness purposes.
Cardiovascular Intensity: The Load-Intensity Relationship
A study examining metabolic responses to loaded movement training found that loaded movement training meets the American College of Sports Medicine recommendations for improving cardiovascular fitness and achieving the daily caloric expenditure from exercise, with elevated VO2 and heart rate persisting significantly above resting levels for 30 to 45 minutes post-exercise, confirming that loaded walking produces a cardiovascular stimulus sufficient for meaningful aerobic adaptation in healthy adults.
Loaded movement training meets ACSM guidelines for cardiovascular fitness improvement. Post-exercise oxygen consumption remains elevated for 30 to 45 minutes after rucking sessions, producing an afterburn effect that extends caloric expenditure beyond the session itself.
The Case for Rucking: Why Choose Loaded Walking Over Running or Cycling?
Lower Impact, Comparable Cardiovascular Stimulus
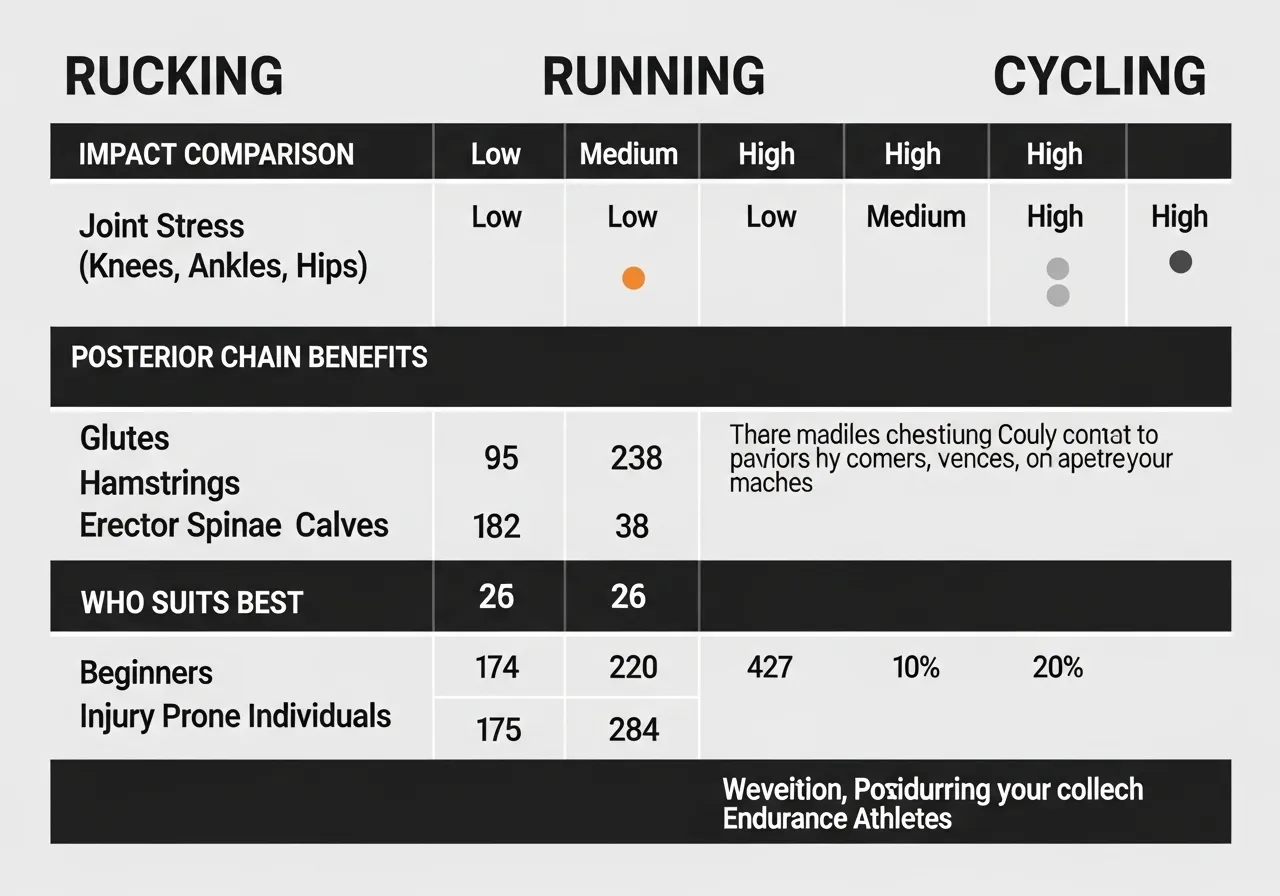
Running generates ground reaction forces of approximately 2.5 to 3 times body weight with each stride. Rucking with a 15 kg load generates approximately 1.3 to 1.5 times body weight per stride. This 50 to 60% reduction in peak impact force dramatically lowers the risk of the repetitive stress injuries that limit running training: shin splints, stress fractures, plantar fasciitis, and knee joint degradation.
For trainees whose running training is limited by injury recurrence, rucking provides Zone 2 to Zone 3 cardiovascular stimulus without the impact accumulation that running creates. For trainees who want to increase weekly cardiovascular volume beyond what their running programme can safely accommodate, rucking adds volume without competing for running recovery. The Zone 2 cardiovascular training framework and heart rate zones that rucking sits within are covered in the Zone 2 training guide.
Posterior Chain and Loaded Carry Benefits
Rucking simultaneously develops cardiovascular fitness and posterior chain endurance. The gluteus maximus, hamstrings, calves, and spinal erectors all work isometrically and dynamically throughout a rucking session to maintain posture and propel the body forward under the added load. This makes rucking one of the few cardiovascular training modalities that also produces meaningful muscular endurance stimulus in the posterior chain.
The upper back, specifically the trapezius and rhomboids, works continuously to stabilise the load against the spine. Trainees who ruck regularly develop upper back endurance that translates directly to maintained posture during long strength training sessions and improved position under barbell loads. This is a functional transfer that running, cycling, and swimming cannot provide.
Who Rucking Suits Best
| Trainee Profile | Why Rucking Fits |
|---|---|
| Injury-limited runners | Comparable cardiovascular intensity without running impact |
| Strength athletes | Cardiovascular base without leg fatigue that impairs squatting and deadlifting |
| Beginners to exercise | Low skill requirement, scalable load, no technique barrier |
| Older adults | Bone density benefit from loaded walking, fall resistance, social compatibility |
| Military and tactical athletes | Direct transfer to occupational demands |
How to Start Rucking: Load, Pace, Distance, and the Beginner Mistakes to Avoid
Rucking with excessive load before developing adequate posterior chain endurance and spinal stability creates compressive spinal loading that can injure the lumbar discs and facet joints. Never begin with loads above 15% of body weight as a first rucking session. Individuals with active lumbar disc pathology, spondylolisthesis, or recent spinal surgery should obtain medical clearance before beginning loaded walking with any meaningful load.
Starting Load: The 10% Rule
The standard starting load for new ruckers is 10% of body weight. For a 75 kg individual, this is 7.5 kg in the pack. This load is sufficient to elevate cardiovascular demand meaningfully above unloaded walking without imposing significant spinal compression risk for an untrained person.
The 10% entry load feels very manageable for the first 20 minutes and progressively more demanding over 45 to 60 minutes. This is the correct experience: the load reveals its demand through duration, not immediately. Many beginners start too heavy because the first few minutes feel easy and then experience lower back fatigue and hip flexor overload in the second half of the session.
Pace and Heart Rate
Rucking pace for recreational training is typically 5 to 6 km/h, approximately 10 to 12 minutes per kilometre. This pace with a 10 to 15% body weight load produces heart rates in Zone 2 to Zone 3 for most adults, equivalent to a moderate jogging effort without the impact. Faster paces of 6 to 7 km/h with the same load move the cardiovascular intensity into Zone 3 to Zone 4.
Using heart rate rather than pace to control rucking intensity is more precise. Set the target zone first and adjust pace or load to maintain it. The same heart rate relationship that applies to running applies to rucking. The cardiovascular training zones and how to determine individual heart rate zone boundaries for each person are covered in the walking guide.
How Load Affects Cardiovascular Intensity
The relationship between rucking load and cardiovascular intensity is straightforward: more load at the same pace produces higher heart rate, oxygen consumption, and caloric expenditure. At 10% body weight and 5.5 km/h, most recreational athletes will be in Zone 2 to Zone 3. At 15% body weight and the same pace, they will be in Zone 3 to Zone 4. At 20% body weight and 6 km/h, Zone 4 sustained effort is common.
This direct load-to-intensity relationship makes rucking one of the most adjustable cardiovascular training tools available. The same person with the same terrain and pace can train across a wide range of cardiovascular intensities simply by adjusting the load. For trainees who want a single modality that covers both easy recovery sessions and harder cardiovascular work, rucking accommodates both ends of the intensity spectrum through simple load manipulation alone, without requiring changes to equipment, route, or session duration. This adaptability makes it one of the most versatile cardiovascular tools available for trainees who prefer to minimise the number of different activities in their programme.
The Three Beginner Mistakes
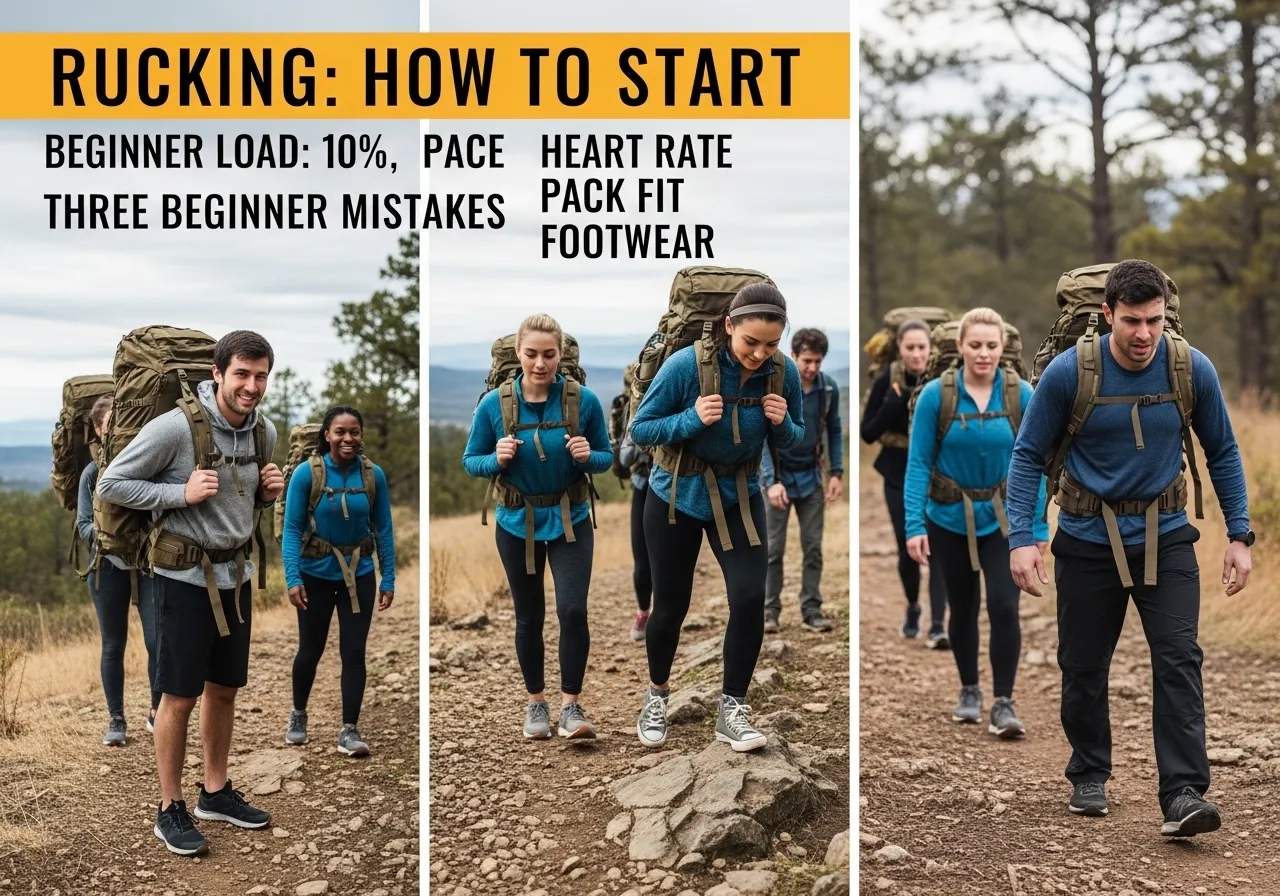
- Too much load too soon: Starting above 15% body weight before building posterior chain endurance leads to lower back fatigue that terminates sessions early and creates a negative association with the training. Build to heavier loads gradually over weeks, not sessions.
- Poor pack fit: A rucksack sitting low on the back, with the load below the hip belt, creates a lever arm that dramatically increases lumbar compression. The load should ride high on the back, with the heaviest item against the spine and the hip belt transferring weight to the hips rather than the shoulders alone.
- Ignoring footwear: Walking shoes adequate for unloaded walking become inadequate under rucking load on uneven terrain. Supportive footwear with adequate ankle stability and midsole cushioning is important when walking 5 to 10 km with a loaded pack.

Rucking Equipment: What You Actually Need and What Is Marketing
The Rucksack
The rucksack is the only equipment decision that materially affects rucking effectiveness and injury risk. Two features distinguish a suitable rucking pack from a general backpack:
Load lifter straps: These straps connect the top of the shoulder straps to the pack body. Tightening them transfers load from the shoulders to the upper back and changes the pack’s centre of gravity toward the body. Without load lifters, the pack pulls backward and creates a forward lean compensation pattern that stresses the lower back.
Hip belt: A padded hip belt transfers approximately 60 to 70% of the pack weight from the shoulders and spine to the hips and glutes. Without an effective hip belt, all load is carried through the shoulders and spinal column, increasing cervical and thoracic compression and limiting the load that can be safely carried for longer durations.
The Load
Purpose-built ruck plates, flat steel or cast iron plates designed to fit against the pack’s back panel, are the most space-efficient loading option. They keep the weight close to the body’s centre of mass. Alternatives include water bags, sandbag inserts, or simply heavy books wrapped in a towel. The load material is less important than its position: as close to the spine as possible, as high in the pack as the pack design allows.
What Is Not Necessary
Purpose-built tactical rucksacks from military gear brands are effective but not required. A standard hiking daypack with adequate load lifters and a padded hip belt performs identically for fitness rucking purposes. Poles, GPS devices, heart rate chest straps, and specialised rucking footwear all have legitimate uses but are secondary to the basic pack and load. Start with what is currently available and add specialised equipment gradually as the long-term training commitment justifies the investment.
Footwear Considerations
Footwear for rucking requires more support than standard walking shoes as the added load increases the force through the foot with each step. Trail running shoes or light hiking boots with adequate midsole cushioning and lateral stability reduce the fatigue that accumulates over long rucking sessions. A shoe that feels comfortable for an hour of unloaded walking may become uncomfortable after 30 minutes of rucking as the load increases plantar pressure and fatigues the ankle stabilisers.
Thick wool or synthetic athletic socks significantly reduce friction and blister formation over longer rucking distances, particularly in warm conditions where perspiration increases skin softening and friction. Cotton socks absorb sweat and retain moisture against the skin, increasing blister risk significantly over distances above 5 km. The footwear investment for rucking remains modest: any trail running shoe in good condition provides adequate protection for recreational rucking at the loads and distances in this 8-week programme, and most trainees already own suitable footwear without needing to purchase anything new.
8-Week Progressive Rucking Programme
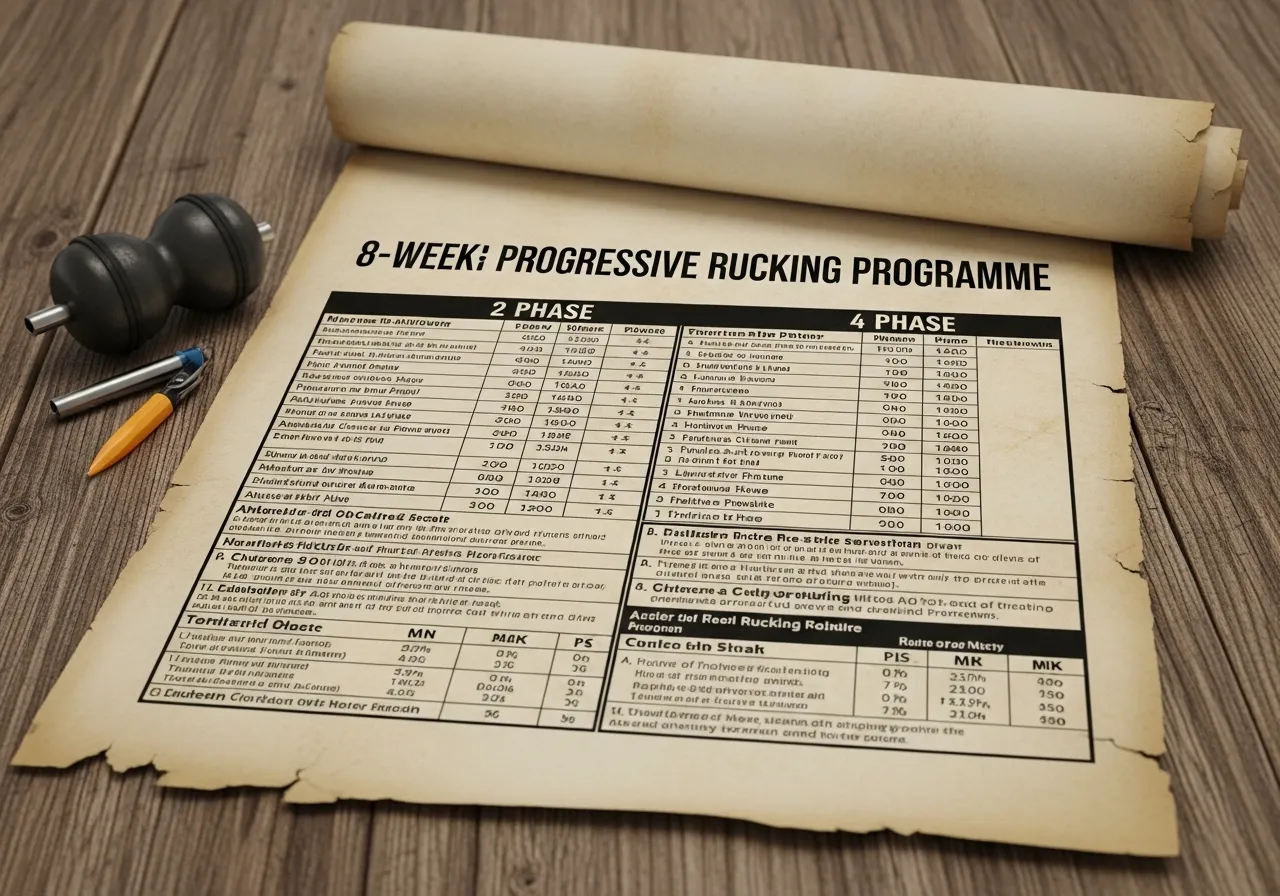
📅 Phase 1: Weeks 1 to 2: Foundation (Easy Entry)
- 2 sessions per week
- Load: 10% body weight
- Distance: 3 to 4 km per session
- Pace: comfortable, conversational (5 to 6 km/h)
- Focus: pack fit, posture, foot strike, identifying any discomfort points
The first two weeks are about learning the movement, not cardiovascular adaptation. Use them to solve equipment issues before adding load.
📅 Phase 2: Weeks 3 to 4: Volume Build
- 2 to 3 sessions per week
- Load: 10 to 12% body weight
- Distance: increase one session to 6 km, others remain 4 km
- Add one slightly faster pace session at 5.5 to 6.5 km/h
Build weekly volume before increasing load. Duration adaptation precedes load progression.
📅 Phase 3: Weeks 5 to 6: Load Progression
- 3 sessions per week
- Load: increase to 15% body weight on longer sessions
- Distance: 5 to 7 km per session
- One session per week on varied terrain (hills or trails) if available
The load increase is where cardiovascular adaptation accelerates. Terrain variation adds proprioceptive demand and increases energy expenditure per km.
📅 Phase 4: Weeks 7 to 8: Peak and Assessment
- 3 sessions per week
- Load: 15 to 20% body weight on all sessions
- Distance: one session of 8 to 10 km as a benchmark event
- Compare resting heart rate to Week 1 as a cardiovascular adaptation marker
- Establish the long-term maintenance standard: 2 sessions per week at 15% load
The long ruck in Week 8 serves as a benchmark. Many trainees find that completing an 8 to 10 km ruck at meaningful load is a genuinely satisfying fitness milestone.
How Rucking Fits Into a Complete Training Programme
With Strength Training
Rucking is uniquely compatible with strength training because it does not create significant leg muscle damage at moderate loads and paces. A 5 km ruck at 15% body weight does not significantly impair squat or deadlift performance in the following 24 to 48 hours the way a hard running session would.
This makes rucking ideal as a recovery-day cardiovascular stimulus that maintains aerobic conditioning without disrupting the strength training recovery cycle. A strength athlete who runs on recovery days often finds running creates residual leg fatigue that affects the quality of the next strength session. Rucking at a moderate pace and load provides equivalent Zone 2 cardiovascular stimulus with dramatically less leg muscle fatigue impact on subsequent training.
With Running
Trainees who run regularly can add rucking as additional aerobic volume without the cumulative impact risk of higher running mileage. Replacing one weekly Zone 2 running session with a rucking session of equivalent duration provides the cardiovascular stimulus while giving the joints and tendons that manage running impact a session of loaded but lower-impact work. For the lactate threshold development that complements both rucking and running base training, the lactate threshold guide covers the threshold training sessions that round out an aerobic programme.
The Bone Density Benefit
Rucking provides a meaningful bone-loading stimulus that running also provides at higher impact forces, while cycling and swimming do not provide any significant axial skeletal loading at all. The axial loading of the spine and lower limbs under a weighted pack stimulates bone remodelling in the vertebrae, hip, and femur, the sites most susceptible to osteoporosis and fragility fractures in older adults.
For older trainees who need low-impact cardiovascular training but also need bone-loading stimulus, rucking addresses both needs simultaneously. Swimming and cycling provide cardiovascular conditioning but do not load the skeleton adequately to stimulate bone density maintenance. Rucking fills this gap precisely by providing meaningful axial load at an impact level that the joints can tolerate even when running is not feasible due to injury, joint sensitivity, or age-related limitations.
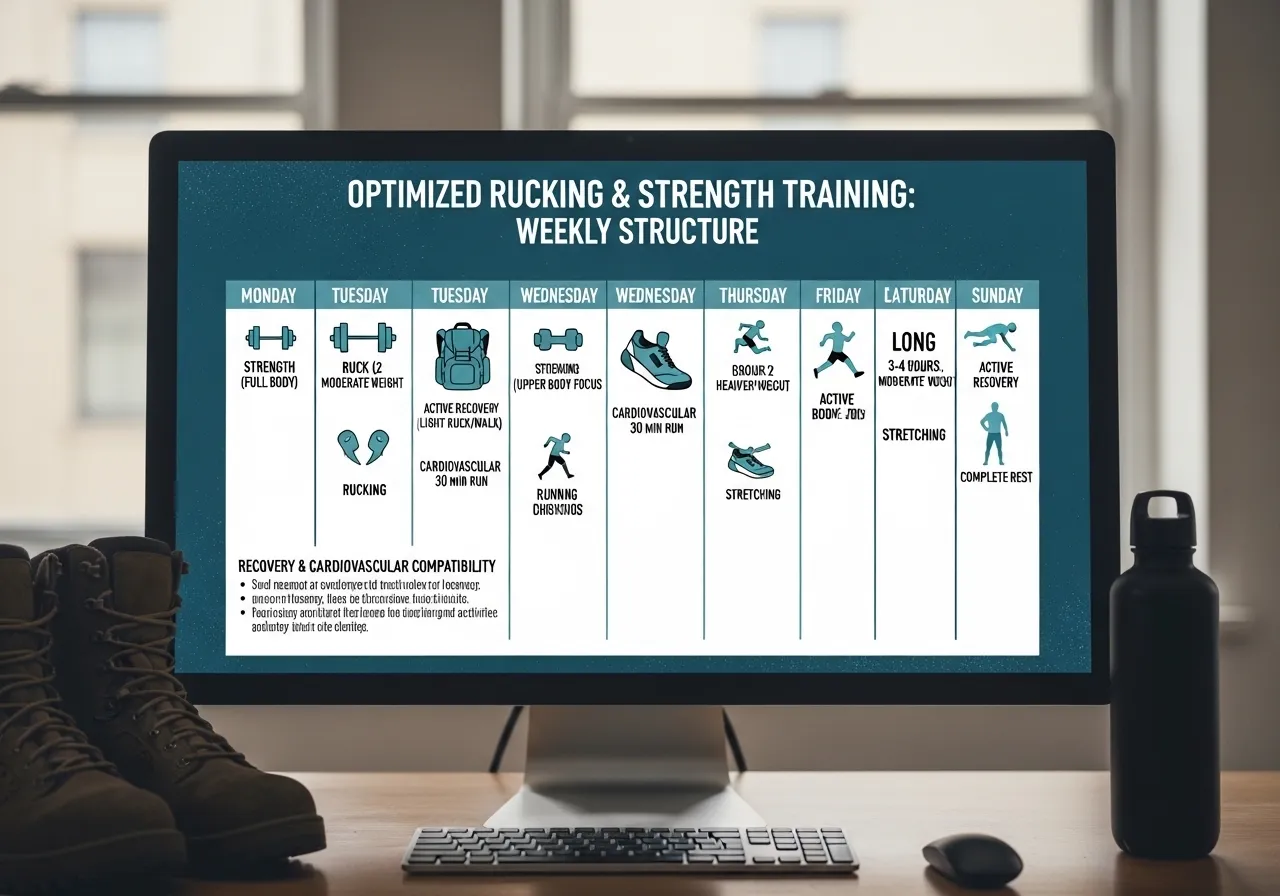
Weekly Structure Examples
- Strength-focused: Mon upper body, Tue ruck 5 km, Wed lower body, Thu rest, Fri upper body, Sat ruck 6 km, Sun rest
- Mixed cardio: Mon run 5 km, Tue strength, Wed ruck 6 km, Thu strength, Fri run 5 km, Sat long ruck 8 km, Sun rest
- Beginner: Mon ruck 3 km, Thu ruck 4 km, weekend active rest
Frequently Asked Questions About Rucking
How heavy should I ruck?
Start at 10% of body weight. Progress to 15% over four to six weeks. Most recreational ruckers train between 10 and 20% of body weight for general fitness purposes. Military and tactical athletes train at 25 to 33% of body weight for event-specific preparation, but these loads are not appropriate for general fitness training without extensive base building.
A useful practical guideline: the load should make the first 20 minutes feel moderately challenging without feeling heavy. If the first 5 minutes feels genuinely difficult, the load is too high. Rucking produces its training effect through duration under load, not through maximal load for short distances.
Is rucking bad for the knees?
Rucking at appropriate loads on suitable terrain produces significantly lower knee joint stress than running. The concern about rucking and knees is typically misplaced from running-related knee concerns. The compressive loading of rucking is substantially lower per step than running, and the slower pace reduces the rate of force development that creates impact-related knee pathology.
Rucking on steep downhill terrain with heavy loads can create significant knee extension moment and quadriceps fatigue that stresses the patellofemoral joint. On steep downhill sections, reducing pace, using trekking poles, and shortening stride length reduces the knee loading that extended downhill rucking creates. For most flat or moderate terrain rucking, knee injury risk is very low.
Can rucking replace running for cardiovascular fitness?
Rucking can maintain and develop cardiovascular fitness at comparable intensities to running when load and pace are matched to produce equivalent heart rate zones. For trainees who cannot run due to injury, rucking is a genuine and effective substitute for cardiovascular training, not a compromise.
The difference is specificity. Rucking develops loaded walking endurance, posterior chain endurance under axial load, and cardiovascular fitness. Running develops running-specific mechanics, sprint capability, and the higher-intensity cardiovascular stimulus that maximal running pace provides. Trainees preparing for running events need running. Trainees using rucking as cross-training or injury-modified cardio lose very little cardiovascular fitness from the substitution.
How many days per week should I ruck?
Two to three sessions per week is the effective range for general fitness rucking. Two sessions per week produces meaningful cardiovascular development and posterior chain endurance. Three sessions per week adds significant volume for trainees using rucking as their primary cardiovascular modality. More than three sessions per week is uncommon for recreational trainees and provides diminishing returns without proportional additional adaptation.
Recovery between rucking sessions depends primarily on load and duration. A 3 km ruck at 10% body weight requires minimal recovery and can be performed on consecutive days without significant performance compromise. A 10 km ruck at 20% body weight requires at least 48 hours of recovery for most trainees before the next session at similar load. Fatigue from rucking manifests most prominently in the calves, hip flexors, and lower back. These three areas are the most useful recovery indicators to monitor when determining appropriate session frequency for the individual.
What is a good first rucking distance and time?
A 3 to 4 km session taking 30 to 40 minutes is an appropriate first rucking session with a 10% body weight load. This duration is long enough to experience the progressive demand that the load creates over time, short enough to avoid the calf and lower back fatigue that longer first sessions produce in untrained individuals.
The most common beginner error is choosing a distance that sounds modest, such as 5 km, without appreciating how much more demanding 5 km with a weighted pack is compared to 5 km of unloaded walking. A 3 km first session is not too short. It is the appropriate entry point that allows honest assessment of pack fit, gait adjustment under load, and individual load tolerance before committing to longer distances in subsequent sessions. Building up distance over two to three weeks rather than attempting a long first session produces a better training response and avoids the excessive soreness that discourages beginners from returning to the training.
- Load carriage elevates cardiovascular demand, oxygen consumption, and metabolic cost above unloaded walking at the same speed. Military rucking can expend up to 1000 kcal per hour at high loads.
- Rucking generates 50 to 60% less ground reaction force per stride than running, producing Zone 2 to Zone 3 cardiovascular stimulus with dramatically lower injury risk than equivalent-intensity running.
- Start at 10% of body weight. The load should make the first 20 minutes moderately challenging. Progress to 15% over four to six weeks before increasing further.
- Rucking is uniquely compatible with strength training as a recovery-day cardiovascular stimulus that does not significantly impair subsequent lower body training performance.
- Load position is critical: high on the back, heaviest item against the spine, hip belt transferring 60 to 70% of weight to the hips to protect the cervical and thoracic spine.