Every squatter has a sticking point. For most it sits just above parallel, where the bar decelerates and the question becomes whether the rep continues or fails. More squatting does not fix a sticking point. More squatting simply repeats the same force production pattern, including the same weakness at the same position.
The paused squat addresses this directly. By stopping at the bottom of the squat and removing the stretch reflex that conventional squatting relies on, it forces the quads, glutes, and posterior chain to produce force from a dead stop at precisely the position where most squats fail. The result is targeted strength development at the weakest point in the range of motion.
This guide identifies who actually needs paused squats based on where and why sticking points occur, explains the mechanism through which the pause creates a distinct training stimulus, covers technique for three paused squat variations, and provides an 8-week programme for incorporating paused squats into an existing strength block.
Diagnosing Your Sticking Point: Where and Why Squats Fail
📌 Key Finding
The sticking region in squats results from two simultaneous problems: the hip extensors operating at a disadvantageous length-tension relationship at low barbell heights, and diminishing muscle potentiation during the ascent reducing force output precisely when the movement demands increase.
Why the Stretch Reflex Masks Weakness in Conventional Squatting
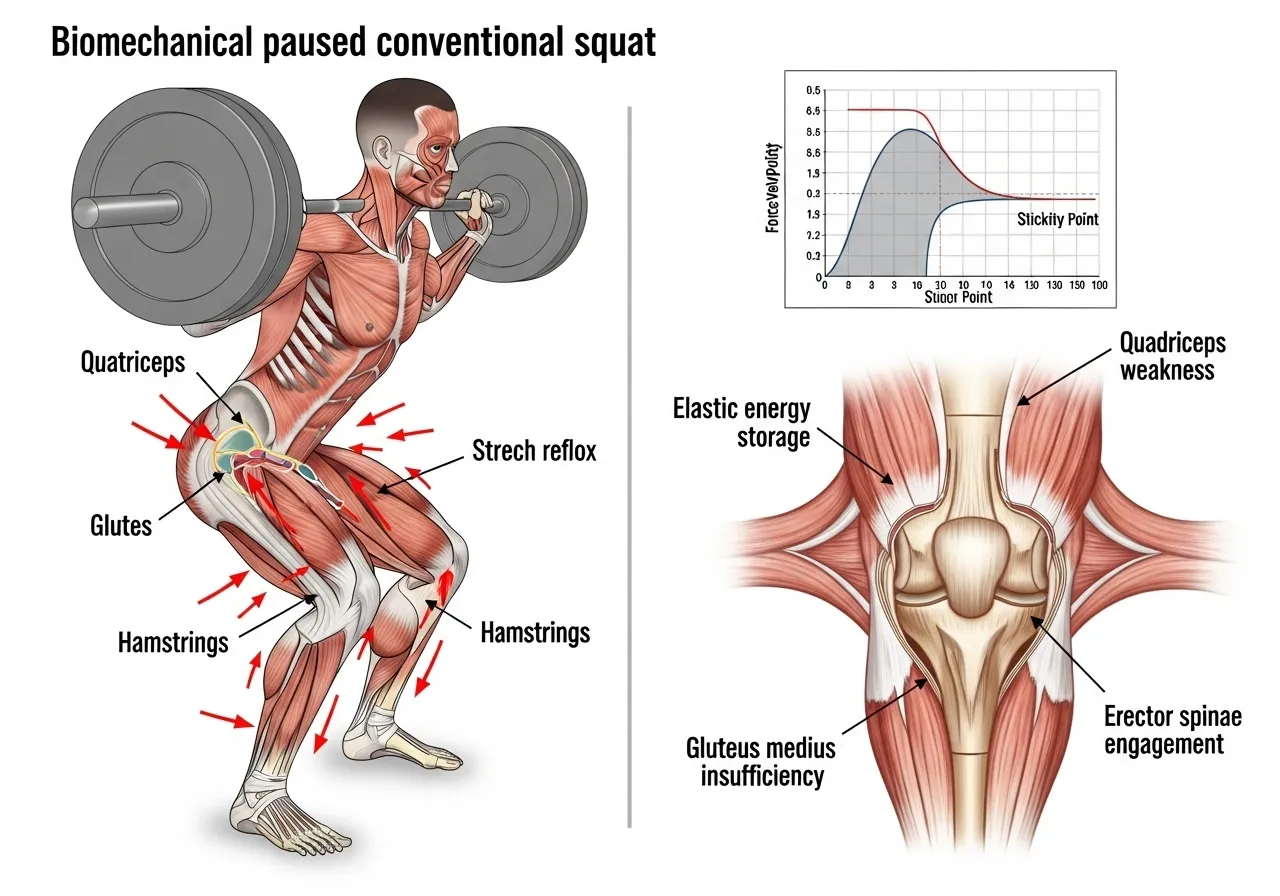
The conventional back squat uses the stretch reflex to assist the concentric phase. As the trainee descends to the bottom position, the quad and glute tendons and muscle-tendon units store elastic energy. At the turnaround point, this stored energy releases into the beginning of the ascent, contributing meaningfully to the force production in the first 10 to 20 degrees of ascent. This elastic energy contribution is free force that does not require additional muscular effort.
The implication is that the conventional squat bottom position does not fully test the trainee’s capacity to produce force from that position. The stretch reflex provides enough initial assistance that a trainee with a genuine strength deficit at that position can still initiate the ascent successfully. The sticking point emerges only when the elastic energy is exhausted and pure muscular force must carry the bar through the sticking region above parallel. By this point, the bar has momentum from the elastic-assisted initial ascent, which is why some trainees successfully complete reps they should theoretically fail.
What the Pause Does to the Force Production Requirement
A pause of 2 to 3 seconds at the bottom of the squat fully dissipates the stored elastic energy in the muscle-tendon units. When the trainee initiates the ascent after the pause, no elastic energy contribution is available. The quads, glutes, and posterior chain must produce all ascent force from a dead stop at the deepest and most mechanically disadvantaged position in the range of motion. This dead-stop requirement exposes exactly the strength deficit that the stretch reflex assists around in conventional squatting, providing targeted training at the specific position that limits maximum squat performance.
Identifying Which Specific Weakness You Have
Not all sticking points originate from the same weakness. A squat that fails with the torso collapsing forward indicates posterior chain weakness, specifically the spinal erectors and glutes failing to maintain the back angle required to transfer leg drive effectively to the bar. A squat that fails with the knees caving and the hips rising before the bar indicates quad weakness relative to hip extensor strength, causing the squat to shift toward a good morning pattern as the quads fatigue. A squat that fails straight up in the sticking region without significant bar path deviation typically indicates a global force production deficit at that specific joint angle. The paused squat addresses the third pattern most directly, while the first two require additional targeted accessory work alongside paused squatting.
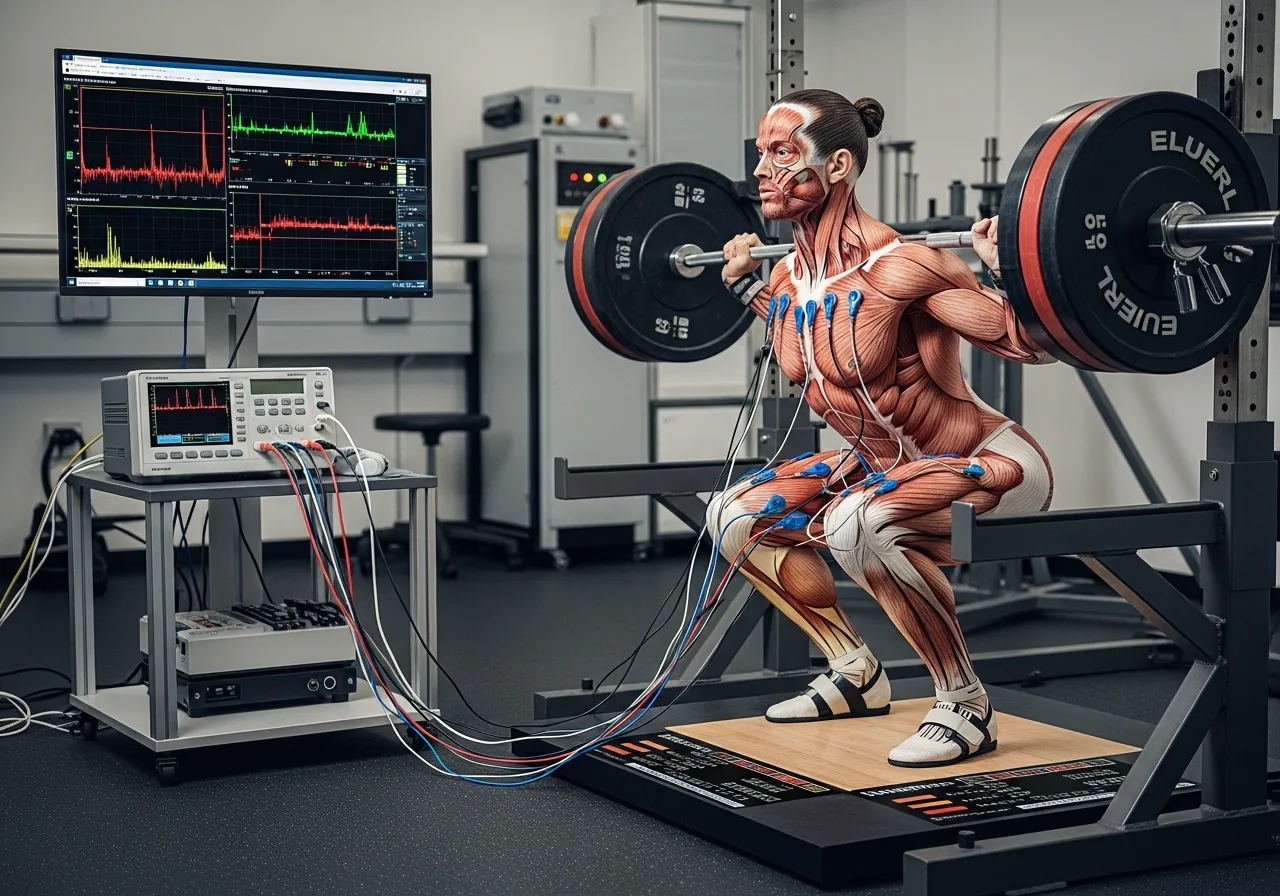
The EMG and Kinetics Research: What Happens at the Sticking Point
Isometric vs Dynamic Squat Force at Different Heights
📌 Key Finding
The sticking region is a genuinely weak biomechanical position, not primarily a technique problem. Diminishing potentiation at that specific joint angle reduces force output precisely where the bar decelerates, confirming that paused training at that position addresses a real mechanical deficit rather than a coaching issue.
Bar Placement and Sticking Region Muscle Activation
📌 Key Finding
Multiple primary squatting muscles decrease activation at the sticking region during the ascending phase. Paused squats target this specific activation deficit by requiring maximal voluntary effort at exactly the height where most muscles would normally reduce their contribution.
Why Paused Squats Produce Sticking Point Carryover That Other Exercises Cannot Match
Leg press, leg extension, and Romanian deadlifts all develop quad and hip extensor strength but at joint angles and load vectors that differ from the squat sticking region. The paused squat trains the exact joint angles, bar position, and multi-muscle coordination that the conventional squat sticking region requires. This specificity of training position is why paused squats produce sticking point improvement that comparable volume of other exercises does not reliably replicate. The muscle activation patterns around the squat sticking region and how bar position influences them is directly relevant to the front squat’s different sticking point profile, which is covered in the front squat guide.
How to Perform the Paused Squat: Technique and the Details That Determine Effectiveness
⚠️ Knee and Lower Back Safety Note The paused squat holds the knee at maximum flexion under load for 2 to 3 seconds. Individuals with active meniscal pathology, significant chondromalacia, or acute knee joint inflammation should obtain clearance before performing paused squats, as sustained compressive loading at maximum flexion may aggravate these conditions. The lumbar spine must maintain a neutral position throughout the pause. Any rounding of the lower back under the sustained isometric load at the bottom increases lumbar disc stress above what conventional squatting produces.
Descent and Bottom Position
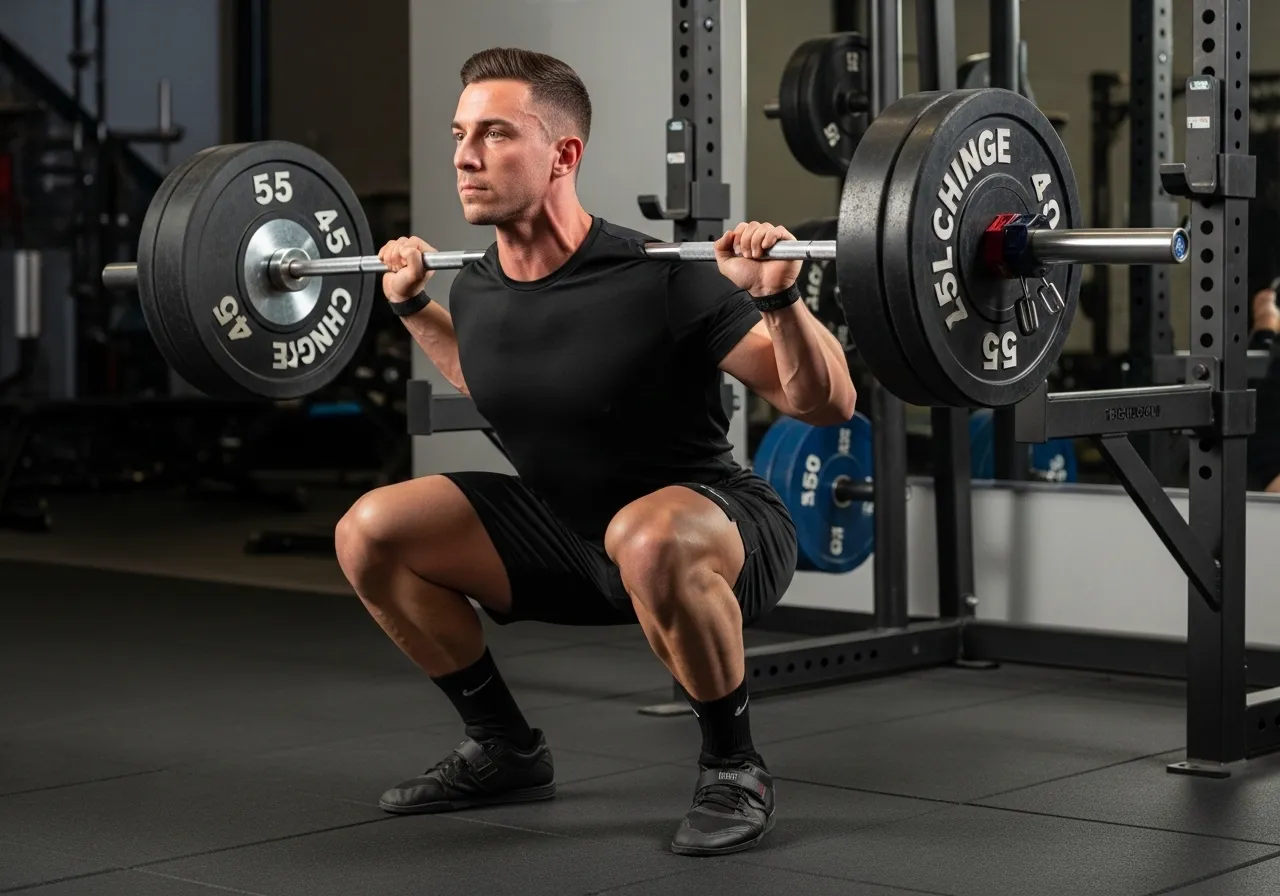
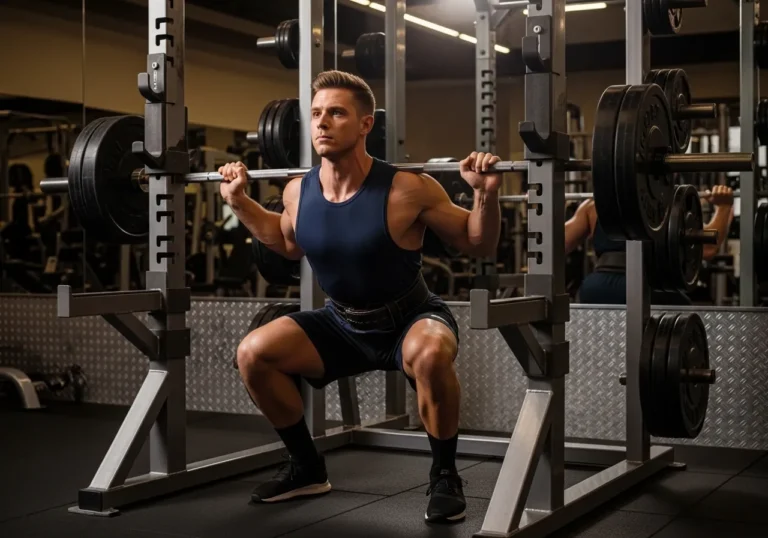
Descend under control at the same tempo used for conventional squats. There is no value in a slower-than-normal descent for paused squats specifically. The pause happens at the bottom, not during the descent. Reach the same depth used in competition squats or training squats, typically with the hip crease below the knee. Shallower pauses train a different position than the actual sticking region for most trainees and provide less sticking point carryover.
At the bottom position, the entire foot remains flat on the floor, the knees track in line with the toes, and the torso maintains the same back angle as a conventional squat at that depth. The bar remains stationary. Any drift in bar position during the pause, forward or backward, indicates that the intended isometric position is not being maintained and that the trainee is unintentionally beginning to adjust position for the ascent before the pause is complete.
The Pause Itself: What 2 to 3 Seconds Requires
The pause should be a complete stop with no bounce, no oscillation, and no preparatory counter-movement before the ascent. Count the full 2 to 3 seconds mentally. Most trainees underestimate pause duration and begin the ascent at approximately 1 second. A training partner calling the count or filming sessions provides accurate pause duration feedback that internal counting alone cannot guarantee.
During the pause, maintain full bracing: the Valsalva manoeuvre is held throughout, the lats are engaged to keep the upper back tight, and the quads and glutes are actively contracting against the weight rather than passively sitting under it. A passive pause, where the trainee simply rests at the bottom without active muscular tension, provides some stretch reflex elimination but does not develop the maximal isometric force production capacity that an active, braced pause demands.
The Ascent From Dead Stop
Initiate the ascent with a deliberate, maximal-intent drive. The absence of elastic energy means the first 5 to 10 degrees of ascent require higher voluntary effort than the same phase in a conventional squat. Many trainees try to create a brief pre-ascent counter-movement to simulate the bounce they normally rely on. This defeats the purpose of the exercise. The dead-stop requirement is the mechanism. Accept the slower, harder initial movement and drive through it.
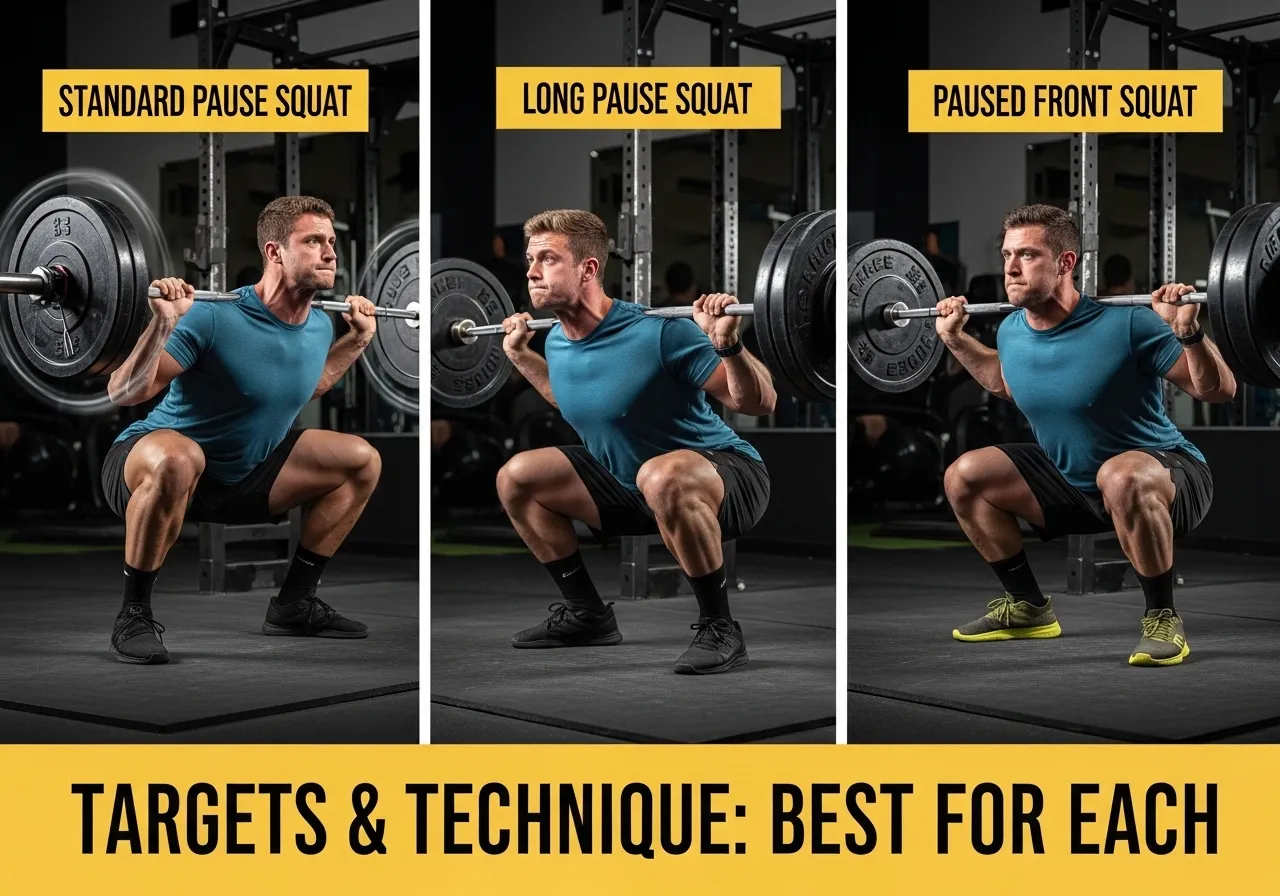
3 Paused Squat Variations and When Each Applies
🏋️ 1. Standard Paused Back Squat (2 to 3 Second Pause)
Target: Sticking point strength, quad and glute dead-stop force production, technique reinforcement
How: Standard back squat descent to full depth. Complete stop for 2 to 3 seconds with active bracing maintained. Ascent with maximal intent from dead stop. Load at 70 to 80% of conventional squat 1RM.
Best for: Primary sticking point development for intermediate to advanced squatters. The most direct intervention for a below-parallel sticking point.
🏋️ 2. Long Pause Squat (5 to 8 Second Pause)
Target: Maximal isometric strength development at the bottom position, mental toughness under sustained load
How: Same as standard paused squat but with a 5 to 8 second hold at the bottom. Lighter load required: 60 to 70% of conventional squat 1RM. The extended hold demands sustained quad and glute isometric force that 2 to 3 second pauses do not fully develop.
Best for: Advanced squatters with persistent sticking points who have already spent 4 to 6 weeks with standard paused squats without sufficient improvement. Also useful for trainees whose confidence at the bottom position, not just strength, limits their conventional squat.
🏋️ 3. Paused Front Squat (2 Second Pause)
Target: Anterior chain sticking point, upright torso dead-stop strength, quad isolation under load
How: Front squat rack position or crossed-arm position. Descend to full depth, pause 2 seconds, ascend. The upright torso requirement of the front squat means the pause taxes the quad and core more directly than the posterior-chain-biased back squat pause.
Best for: Olympic weightlifters and front-squat-focused athletes whose catch position in the clean requires strength and confidence at the front squat bottom. Also appropriate for back squat-focused trainees as a complementary stimulus that develops the quad sticking point from a different torso angle. The Zercher squat’s anterior load mechanics and how they compare to front squat bottom-position demands is covered in the Zercher squat guide.
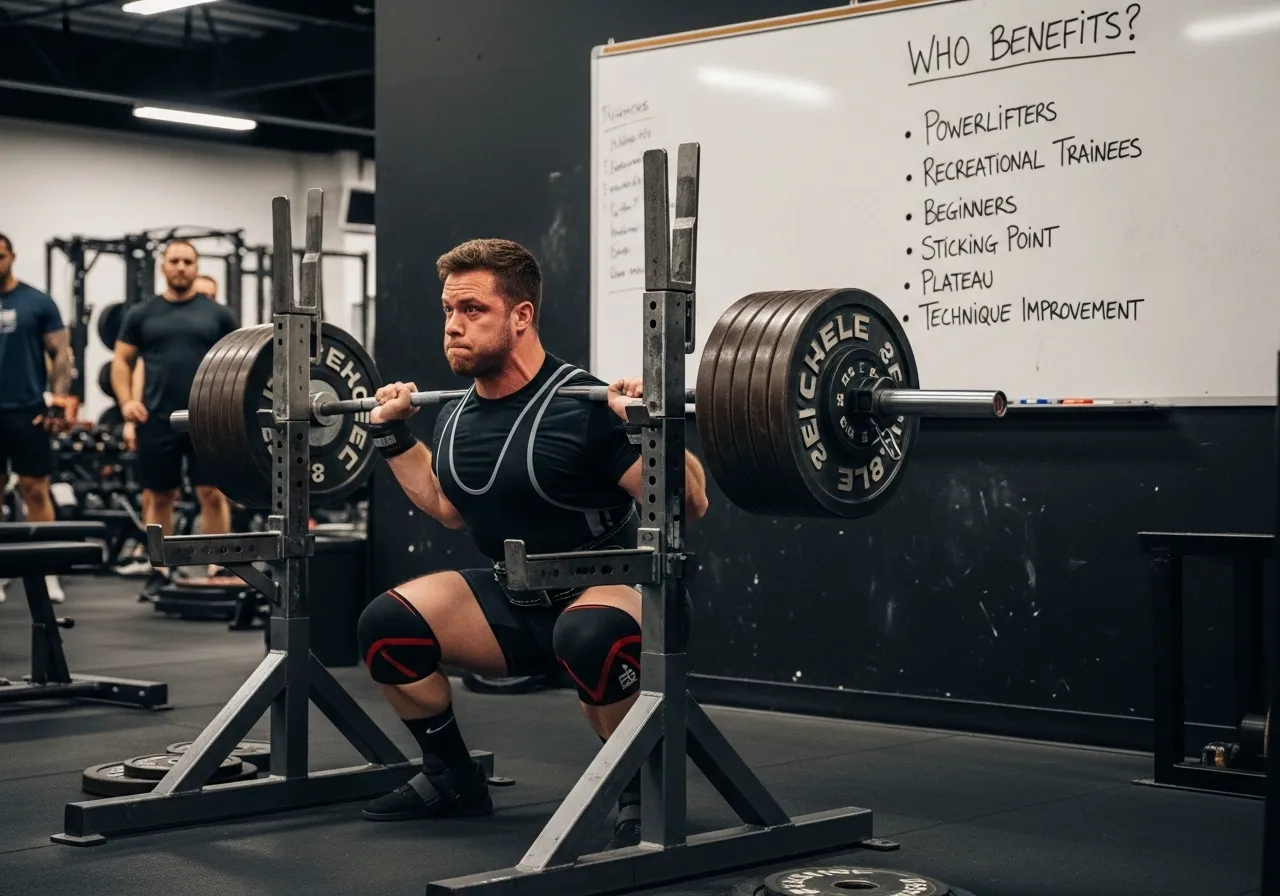
Is the Paused Squat Only for Powerlifters, or Does Everyone Benefit?
The Case for Powerlifters and Competitive Squatters
For powerlifters and competitive strength athletes, the paused squat serves two simultaneous purposes. First, it develops the specific strength deficit that limits maximum squat performance. Second, it teaches the bottom position under sustained load, building both the physical capacity and the psychological confidence to maintain position when a maximum attempt is grinding through the sticking region.
Competition squats that are failed above parallel are almost always preceded by a bottom position that was technically adequate but from which the ascent drive was insufficient to clear the sticking region. The paused squat trains exactly this scenario: adequate bottom position, no elastic energy assistance, maximal intent ascent through the sticking region. Strength athletes who regularly include paused squats in their programming often report that their conventional squat top end feels faster after paused squat blocks, because the sticking region no longer represents a true failure point but a position they have trained to drive through from a dead stop.
The Case for Recreational Trainees and General Fitness
Recreational trainees whose squat has plateaued despite consistent volume and progression attempts often have a technique deficit at the bottom rather than a raw strength deficit. Every conventional squat rep relies on the same elastic energy assistance, reinforcing the habit of relying on the bounce rather than developing the specific positional strength the sticking region requires.
Including paused squats as 20 to 30% of total squat volume for 4 to 6 weeks typically produces measurable improvements in both sticking point strength and general squat technique quality for these trainees. The pause forces position awareness and active bottom bracing that carries over to conventional squatting quality. Many trainees find that their squats look and feel more controlled after a paused squat block even when they return to full conventional squatting volume.
Beginners and the Paused Squat
Beginners learning the squat benefit from occasional paused squats as a technique teaching tool rather than a strength development tool. A 1 to 2 second pause during the learning phase allows the trainee to assess their bottom position, confirm that the knees and feet are correctly aligned, and feel the bracing demands of the position before attempting the ascent. Light paused squats as 1 to 2 sets within each learning session serve this diagnostic function without the strength demands that make heavier paused squats appropriate only for more experienced trainees. The back squat depth, bar position, and technique details that paused squats reinforce are covered in the barbell back squat guide.
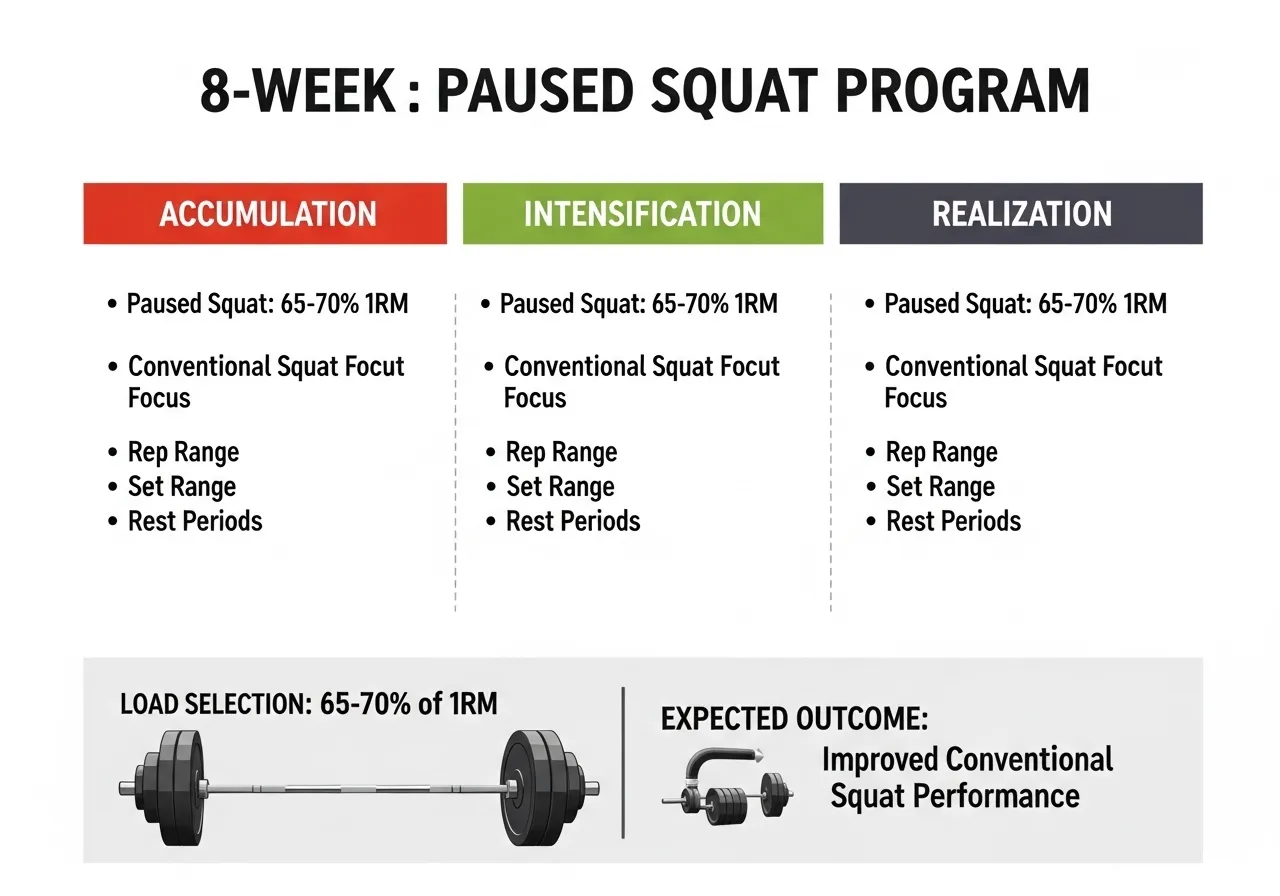
8-Week Paused Squat Programme for Sticking Point Development
How Paused Squats Fit Into Annual Squat Programming
Most strength athletes benefit from incorporating paused squats in two ways: as a dedicated block lasting 6 to 8 weeks when sticking point development is the priority, and as permanent low-volume additions of 1 to 2 sets within conventional squat sessions during maintenance periods. The dedicated block produces the primary sticking point adaptation. The maintenance sets preserve that adaptation and prevent regression during subsequent training phases focused on conventional squat volume and intensity.
Within a periodised programme, paused squats work best in the accumulation or preparation phase, typically 10 to 14 weeks before a competition or peak training test. Placing the paused squat block here allows the strength developed at the sticking position to transfer into the conventional squat loading that follows. Placing it immediately before a peak, in the 4 to 6 weeks before a maximum attempt, removes too much conventional squat volume at a point where specificity is the priority. The conventional squat’s bar position variations and how they affect sticking point location and thus paused squat placement in the programme is covered in the barbell back squat guide.
Load Selection: The Starting Point
Paused squats require significantly less load than conventional squats to produce equivalent training stress due to the elastic energy removal. A trainee who conventional squats 120 kg should begin paused squats at 80 to 85 kg, approximately 65 to 70% of conventional squat 1RM. Attempting paused squats at conventional squat loads produces technique breakdown, rushed pauses that do not fully dissipate the stretch reflex, and excessive fatigue from the isometric holding demand.
📅 Phase 1: Weeks 1 to 3: Pattern and Position
Paused squat: 4 sets of 3 reps, 2 second pause, 65 to 70% conventional squat 1RM
Performed before conventional squat work in the session
Focus: full pause with no bounce, active bracing throughout, full depth matching conventional squat
Conventional squats continue as normal after paused sets
The load is deliberately light. The novel isometric demand at the bottom is challenging enough without heavy loading. Build the pattern before building the load.
📅 Phase 2: Weeks 4 to 6: Load Development
Paused squat: 4 sets of 3 reps, 2 to 3 second pause, increase load 2.5 to 5 kg weekly
Add 1 set of long pause squat (5 seconds): 60% conventional squat 1RM
Reduce conventional squat volume by 1 set to accommodate fatigue from paused work
Weekly load increases are small because the isometric demand compounds rapidly. A 5 kg increase in paused squat load is proportionally more demanding than a 5 kg increase in conventional squat load.
📅 Phase 3: Weeks 7 to 8: Peak and Transition
Paused squat: 3 sets of 2 reps, 3 second pause, 75 to 80% conventional squat 1RM
Week 8: test conventional squat 1RM or 3RM to assess sticking point improvement
Expected: 3 to 7% improvement in conventional squat 1RM from pre-block baseline
Transition: reduce paused squat volume to 1 to 2 maintenance sets, return to conventional squat volume
The 1RM test in Week 8 provides objective evidence of sticking point improvement. Compare the feel of the sticking region in the test to the pre-block baseline to assess whether positional confidence has also improved beyond raw strength gains.
Frequently Asked Questions About the Paused Squat
How much lighter should I paused squat compared to my regular squat?
Begin paused squats at 65 to 70% of your conventional squat 1RM. This produces the appropriate training stimulus without the technique breakdown that heavier initial loads cause. After 3 to 4 weeks of consistent paused squat training, working loads typically progress to 72 to 80% of the conventional 1RM for experienced squatters.
Trainees who attempt paused squats at 80 to 85% of their conventional squat 1RM in the first sessions consistently report rushed pauses, excessive forward lean at the bottom, and significant lower back fatigue. These are signs that the load is too heavy for the current level of isometric bottom position strength. The appropriate load produces a challenging but controlled 2 to 3 second pause with full bracing and a clean ascent from the dead stop.
My knees hurt during the pause. What should I do?
Knee discomfort during a paused squat typically indicates one of three issues: excessive forward knee travel at the bottom creating high patellofemoral compression, inadequate foot external rotation for the available hip rotation range, or a pre-existing knee condition that sustained compressive loading at maximum flexion aggravates.
First, check foot position and width. A slightly wider stance and greater toe-out angle often reduces anterior knee pain by allowing the hip to externally rotate more freely at the bottom, reducing the patellofemoral compression that a restricted hip creates. If knee discomfort persists after stance adjustment, try pausing at slightly above parallel rather than full depth. If pain remains at any pause position, stop paused squatting and address the underlying knee health issue before returning to sustained-load bottom position work.
How long should I run a paused squat block before returning to conventional squatting?
Six to eight weeks of dedicated paused squat programming produces the sticking point adaptation that justifies the approach. Shorter blocks of 3 to 4 weeks produce some improvement but may not provide sufficient accumulated isometric bottom position training to produce the carryover to conventional squat sticking point performance that a complete block achieves.
After the paused squat block, return to conventional squat volume with paused squats reduced to 1 to 2 maintenance sets per session. The sticking point strength developed during the block typically persists for 6 to 10 training weeks of conventional squatting before a refresher block becomes beneficial. Integrating paused squats as a permanent 1 to 2 set addition to conventional squat sessions, rather than periodic dedicated blocks, is an alternative that suits trainees who prefer not to reduce conventional squat volume for extended periods.
Key Takeaways
The squat sticking region results from diminishing muscle potentiation and a disadvantageous hip extensor length-tension relationship at low barbell heights, making it a genuine mechanical deficit rather than a technique problem.
The pause eliminates the stretch reflex contribution that conventional squatting relies on, forcing maximal force production from a dead stop at the position where most squats fail.
Multiple primary squatting muscles decrease activation at the sticking region during the ascending phase. Paused squats target this specific activation deficit through sustained isometric demand at that exact position.
Begin paused squats at 65 to 70% of conventional squat 1RM. A 2 to 3 second active, braced pause with no bounce is more valuable than heavier loads with rushed or passive pauses.
A 6 to 8 week paused squat block typically produces 3 to 7% improvement in conventional squat 1RM through sticking point strength development that equivalent conventional squat volume cannot provide.
The box squat is simultaneously one of the most effective and most misunderstood squat variations available. Its proponents claim it develops power that the conventional back squat cannot, builds the hip and posterior chain emphasis that powerlifters need, and teaches correct squat mechanics by providing a definitive depth reference. Its critics dismiss it as a…
The trap bar deadlift carries a stigma in serious strength training communities. It is described as the easier deadlift, the beginner deadlift, the deadlift for people who cannot do a real deadlift. The perception is that its reduced range of motion and more upright torso represent a shortcut around the technical and physical demands of…
⚠️ Fitness Disclaimer: The information in this article is for general educational purposes only and does not constitute professional fitness or medical advice. Always consult a qualified healthcare professional before starting any new exercise program. Why One Leg at a Time Builds More Muscle Than Two For the first three years of serious training, I…
The front squat is the most technically honest squat in any strength programme. The barbell sits on the front of the shoulders. The elbows point forward. The torso stays vertical. When the technique is correct, it works. When one element breaks, whether wrist immobility, collapsed elbows, or forward lean, the bar rolls forward and the…
Every serious upper body pressing programme eventually arrives at the same limitation: the lockout. Chest and anterior deltoid strength builds quickly with standard bench pressing. Triceps strength, specifically the capacity to drive the bar from mid-range to full extension, develops more slowly and becomes the bottleneck at heavier loads. The close-grip bench press directly addresses…
Back-Dominant pull-up mastery programme Blueprint This framework targets maximal back growth with safe shoulder mechanics. It builds pulling strength and total stability. Key principles:– Depress and retract the scapula before pulling.– Pull elbows toward ribs, not behind the torso.– Maintain a slight hollow body for core tension.– Progress volume and intensity in planned waves.– Track…