Tire Flip Training: The Science of Full-Body Power, Hip Hinge Mechanics, and Why It Trains What Barbells Cannot
There is no neat way to flip a tire. It does not fit into a defined movement category. It is not a deadlift. It is not a push press. It is all of them simultaneously, in a sequence, against an implement that shifts weight as it moves.
This awkwardness is the point. Every clean movement in conventional training is engineered to remove the unpredictability that makes lifting outside the gym hard. The tire brings that unpredictability back, in a form that is structurally controlled enough to be safe and coached, while being genuinely unlike anything else available with standard equipment.
This guide covers what the biomechanics research shows about tire flipping as a training tool, the three mechanical phases of the flip and what each demands, how it compares to conventional strength and conditioning methods, who benefits most from including it, and how to programme it from beginner to intermediate level.
The Biomechanics Research: What Tire Flipping Actually Trains
Strongman Exercise Biomechanics: The Systematic Review
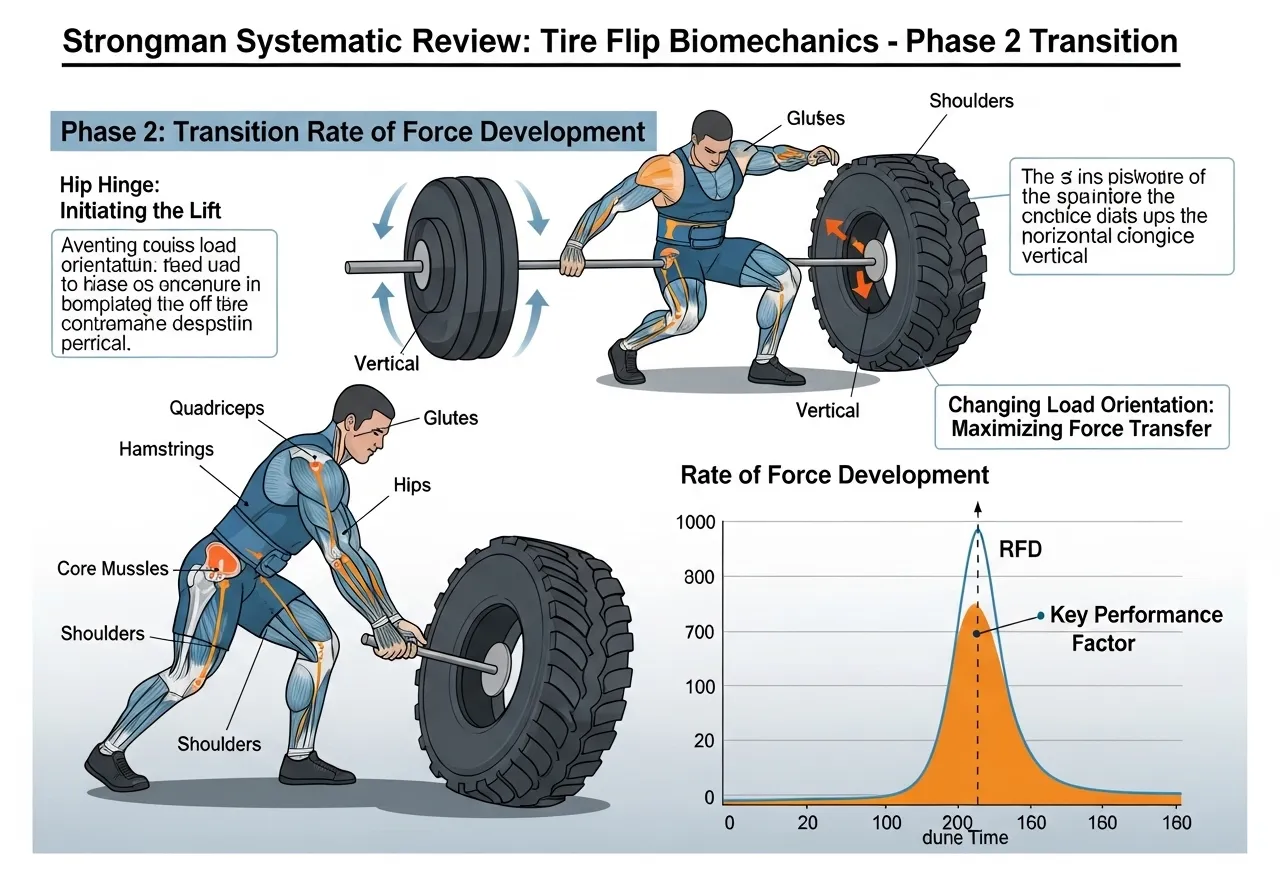
A systematic review of strongman exercise biomechanics found that the tire flip is commonly used as a strength and conditioning training tool at recreational and elite sporting levels for power, strength, endurance, and metabolic conditioning training, with higher performing athletes in the tire flip characterised by a reduced second pull phase time compared with lower performing athletes, confirming that rate of force development in the transition phase between the initial lift and the push phase is the primary determinant of tire flip performance rather than absolute lower body strength alone.
Tire flip performance is determined by rate of force development in the transition phase, not just lower body strength. This makes it a genuine power exercise rather than simply a heavy lift. Elite performers are faster in this transition, not necessarily stronger in absolute terms.
Hip Hinge Mechanics Under Load: What the Research Shows
A study comparing muscle recruitment across three straight-legged hinge-pattern exercises found that hinge exercises are critical to building a balanced resistance training programme in concert with knee-dominant exercises, with biomechanical differences between various straight-legged hinge exercises altering muscle activation patterns, and that different hip hinge loading orientations, including closed-chain gravity-based and redirected resistance approaches, each produce distinct posterior chain activation profiles that serve complementary training functions.
Different hip hinge loading orientations produce distinct posterior chain activation profiles. The tire flip, which uses a moving and changing resistance orientation throughout the flip, trains the posterior chain through multiple hinge positions in a single repetition that no single standard exercise replicates.
Metabolic Resistance Training vs Conventional Conditioning
A systematic review and meta-analysis comparing metabolic resistance training to traditional cardiovascular training found that metabolic resistance training, which includes compound resistance exercises performed at high intensity with minimal rest periods as in tire flipping circuits, produced significant improvements in VO2 max, peak power output, and sprint performance, with well-structured metabolic resistance training elevating post-exercise oxygen consumption for up to 38 hours after training, substantially increasing total energy expenditure through both acute and extended metabolic responses.
Metabolic resistance training including tire flipping circuits produces significant VO2 max and power improvements while elevating post-exercise oxygen consumption for up to 38 hours. The metabolic afterburn from high-intensity compound movements exceeds that of conventional cardio training.
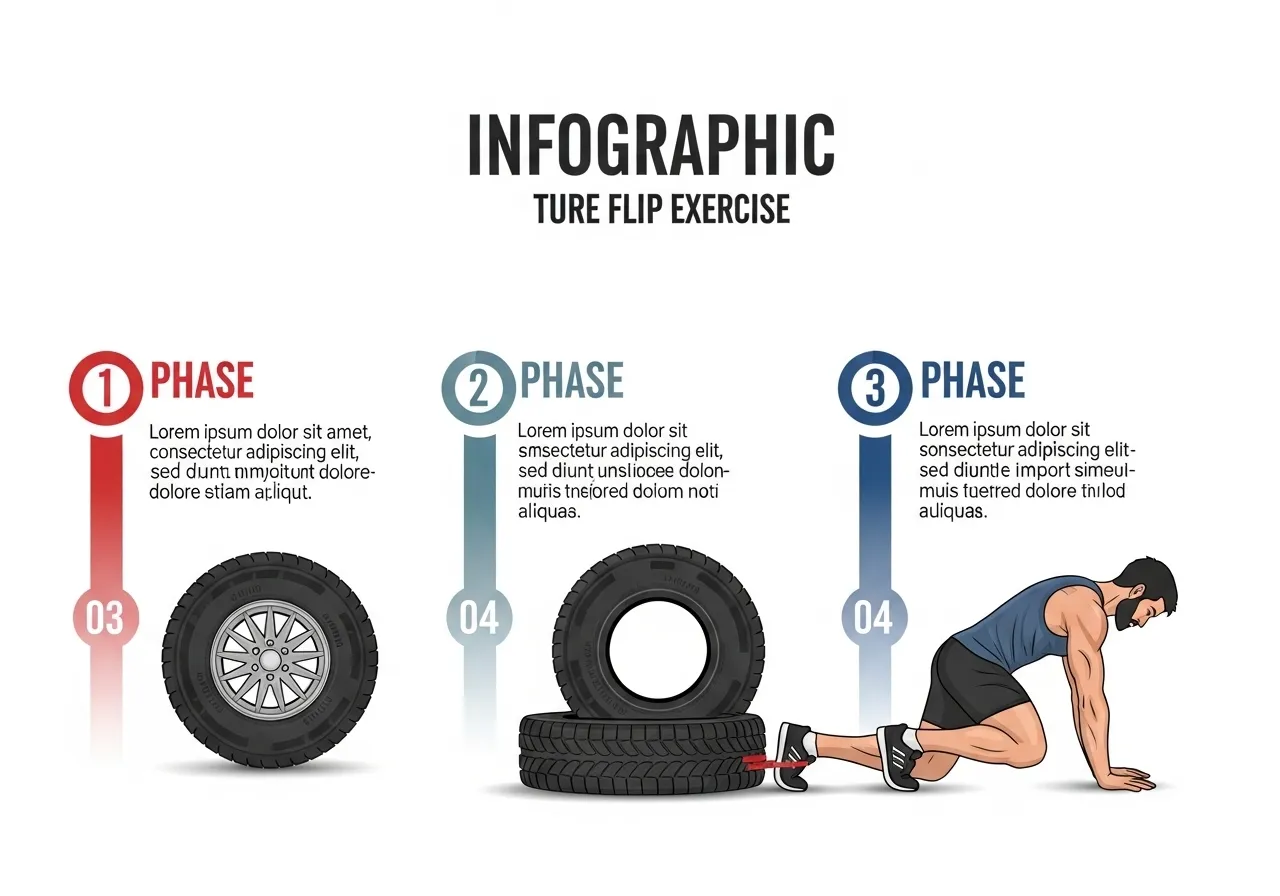
The Three Phases of the Tire Flip: What Each Phase Trains
Phase 1: The Initial Lift (Hip Hinge Pull)
The first phase begins with the tire flat on the ground. The trainee squats low or hip-hinges to get fingers under the tire, drives the hips forward and upward to lift one edge of the tire off the ground, and propels it upward past the knee.
This phase is mechanically similar to a sumo or Romanian deadlift. The posterior chain, specifically the gluteus maximus, hamstrings, and lumbar erectors, drives the initial force production. The grip is an underhand or neutral finger curl that provides traction against the rubber rather than a loaded bar that fits cleanly in the hands. The unstable, shifting load of the tire requires continuous proprioceptive adjustment throughout the lift in a way that a barbell at fixed centre of mass does not.
The Phase 1 demand: explosive hip extension from a loaded hip-hinged position under an awkward, non-uniform implement. This trains the posterior chain in a way that is functionally distinct from deadlift variations because the load orientation changes continuously as the tire rises.
Phase 2: The Transition (Drive and Catch)
As the tire passes knee height, the movement transitions from a pull to a drive. The trainee repositions from hip-hinged to upright, placing both hands flat against the face of the tire, and drives through the legs and shoulders simultaneously to accelerate the tire upward.
This transition is the most biomechanically demanding phase and the phase that separates explosive athletes from strong but slow ones. The movement requires the trainee to absorb the tire’s momentum from Phase 1 and redirect it into an upward push in a fraction of a second. This brief eccentric-to-concentric reversal is a stretch-shortening cycle stimulus identical in principle to the clean catch in Olympic lifting.
The Phase 2 demand: rapid deceleration of the tire’s upward momentum, immediate reversal to upward push force, and coordinated triple extension of hip, knee, and ankle alongside shoulder and arm extension. This is the phase that produces the explosive power transfer the biomechanics research identifies as the primary performance determinant.
Phase 3: The Push (Full Extension)
The final phase completes the flip by driving the tire from approximately chest height to fully horizontal on the opposite face. This phase resembles a standing chest press or a football block: both hands flat against the tire, elbows driving forward, body leaning into the push as the hips extend fully.
Phase 3 trains anterior chain pushing strength under a continuing load. The anterior deltoid, pectorals, and triceps all contribute. The core works anti-rotationally to prevent the pushing force from twisting the torso. This phase is the only part of the tire flip that resembles conventional pressing movements, but the body position and load angle are distinct from bench press, overhead press, or push-up mechanics.
Is Tire Flipping Actually Good for Strength and Power?
What It Develops That Standard Equipment Underserves
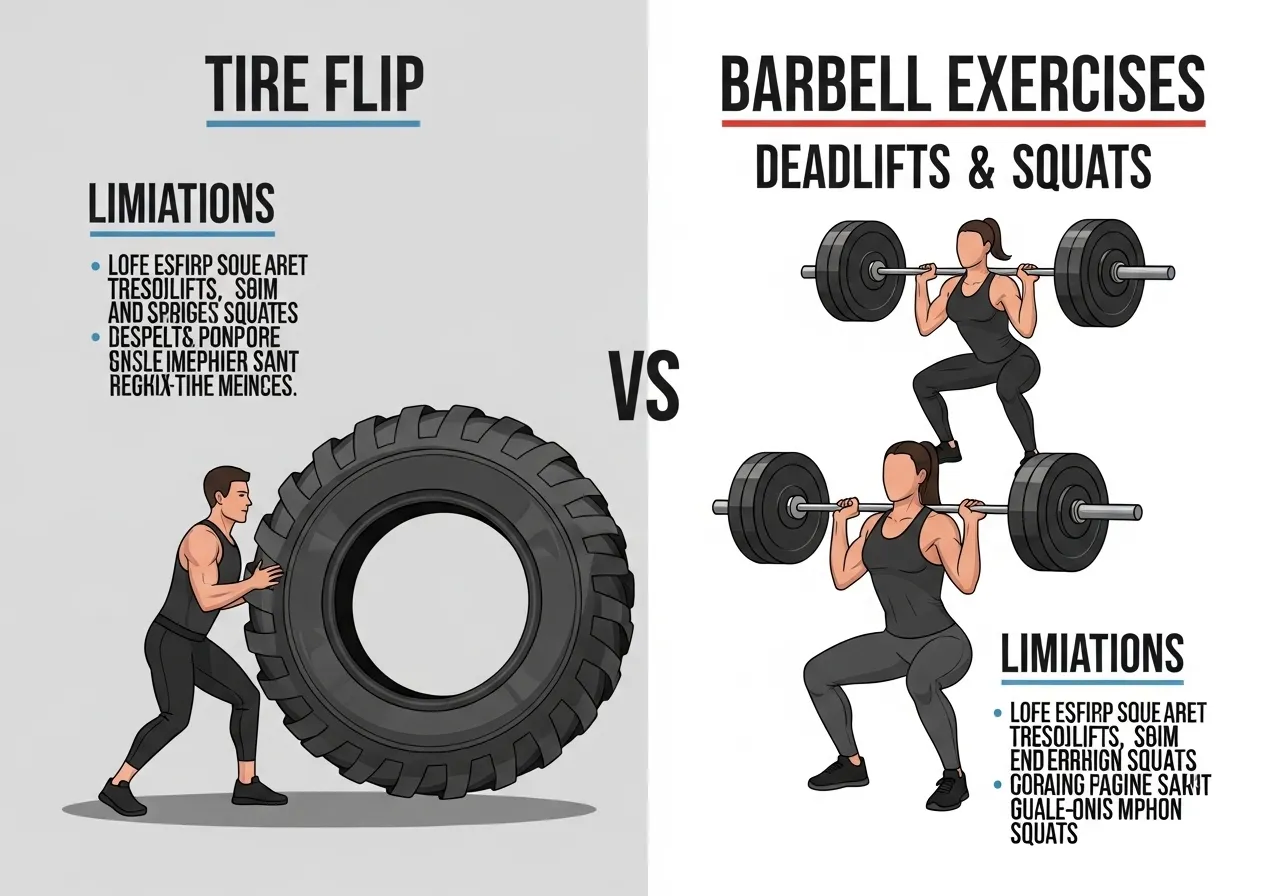
Conventional strength training excels at developing strength in specific, defined movement patterns under predictable loading. The barbell deadlift trains hip extension under a fixed load at a fixed position. The bench press trains horizontal pressing from a fixed angle. These patterns are enormously productive for developing maximum strength in defined planes of movement.
Tire flipping trains force production in a changing movement environment. The load shifts throughout the flip. The body must continuously adjust force direction, angle of push, and base of support. The nervous system is managing a genuinely unpredictable problem rather than executing a practiced motor programme under identical conditions every repetition.
This distinction is not an argument that tire flipping produces superior strength gains to barbell training. It does not. Maximum strength development requires the progressive overload specificity of barbell work. Tire flipping produces complementary adaptations: multi-plane force production, rapid force direction changes, and neuromuscular coordination under non-standard loading that transfers specifically to athletic movements and occupational tasks.
The Metabolic Demand: What Makes It Conditioning
Tire flipping at speed produces high heart rate responses rapidly. Four to six consecutive flips over 20 to 30 metres elevates heart rate to 85 to 95% of maximum within the first set for most trained individuals. The combination of high force production demands and full body muscular involvement creates a simultaneous strength and conditioning stimulus that neither barbell training nor conventional cardio alone produces.
The metabolic demand is particularly high because tire flipping uses almost all major muscle groups simultaneously. The posterior chain drives Phase 1. The entire body contributes to Phase 2 transition. The anterior chain drives Phase 3. The cumulative oxygen debt from repeated full-body maximal-effort movements exceeds that of most standard exercise formats at matched duration. The plyometric training research and its application to functional power development is covered in the plyometric training guide, which covers the SSC mechanics that tire flipping’s Phase 2 transition trains.
Limitations and Honest Drawbacks
Tire flipping has genuine limitations that its enthusiastic proponents often understate. Load progression is coarse: tire sizes come in large increments that cannot be controlled with the precision of barbell loading. Technique is difficult to standardise across individuals of different heights, hip mobility levels, and arm lengths. The grip demand creates a significant grip strength prerequisite that limits the exercise for beginners.
These are not reasons to avoid tire flipping. They are reasons to programme it thoughtfully: as a conditioning and power tool that complements structured strength training rather than as a primary strength developer, and with attention to technique prerequisites before loading is emphasised.

Tire Flip Technique: The Details That Separate Productive Reps From Injury Risk
Tire flipping places significant shear and compression force on the lumbar spine during Phase 1, particularly when the initial lift requires excessive forward lean. Individuals with active disc herniations, lumbar stenosis, or acute lower back pain should obtain medical clearance before tire flipping. The wrist is at risk when the hands are placed beneath the tire with the wrist extended under load. Individuals with active wrist impingement or distal radius pathology should modify grip technique before loading. Any sharp lower back or wrist pain during flipping requires immediate cessation and assessment.
Phase 1 Technique: Setting the Position
2. Hip position: Hip-hinge to get the hands under the tire. The hips should be below the shoulders. Do not squat vertically; maintain the hip-hinged forward lean that transfers force efficiently through the back chain.
3. Hand position: Fingers curl under the tire at its lower edge. Hands should be at roughly shoulder-width or slightly wider. Wrists must remain as neutral as possible; do not allow them to hyperextend under the tire.
4. Drive initiation: Explosively drive the hips forward and up. The chest rises, the hips extend, and the tire accelerates upward. Do not pull with the arms. The legs and hips produce the force. The arms are guides, not primary movers.
Phase 2 Technique: The Transition
As the tire reaches knee height, immediately reposition the hands. Move from a curled underhand grip to flat palms against the tire face. The hip-hinged position simultaneously shifts to upright. Both hands are now pushing forward and upward.
This repositioning must be fast. The tire is still moving upward from Phase 1 momentum. Delaying the hand repositioning by even half a second means the tire’s momentum is wasted and a new force production effort must begin from a mechanically disadvantaged position. The transition is the skill element of tire flipping that requires deliberate practice before loading.
Phase 3 Technique: The Drive
From the upright push position, drive the tire forward and over by extending both arms and leaning into the movement with body weight. The push should be directed outward and slightly downward to control the tire’s trajectory as it falls. Maintain a braced core throughout to protect the lumbar spine against the rotational forces of the asymmetric push.
Step away from the tire as it falls. The temptation to stay close and immediately begin the next flip should be resisted until technique is established. The tire falls unpredictably. Maintaining safe distance during the fall prevents the most common tire flip acute injury: a falling tire landing on the feet or shins.
Who Should Add Tire Flipping to Their Programme?
The Populations Who Benefit Most
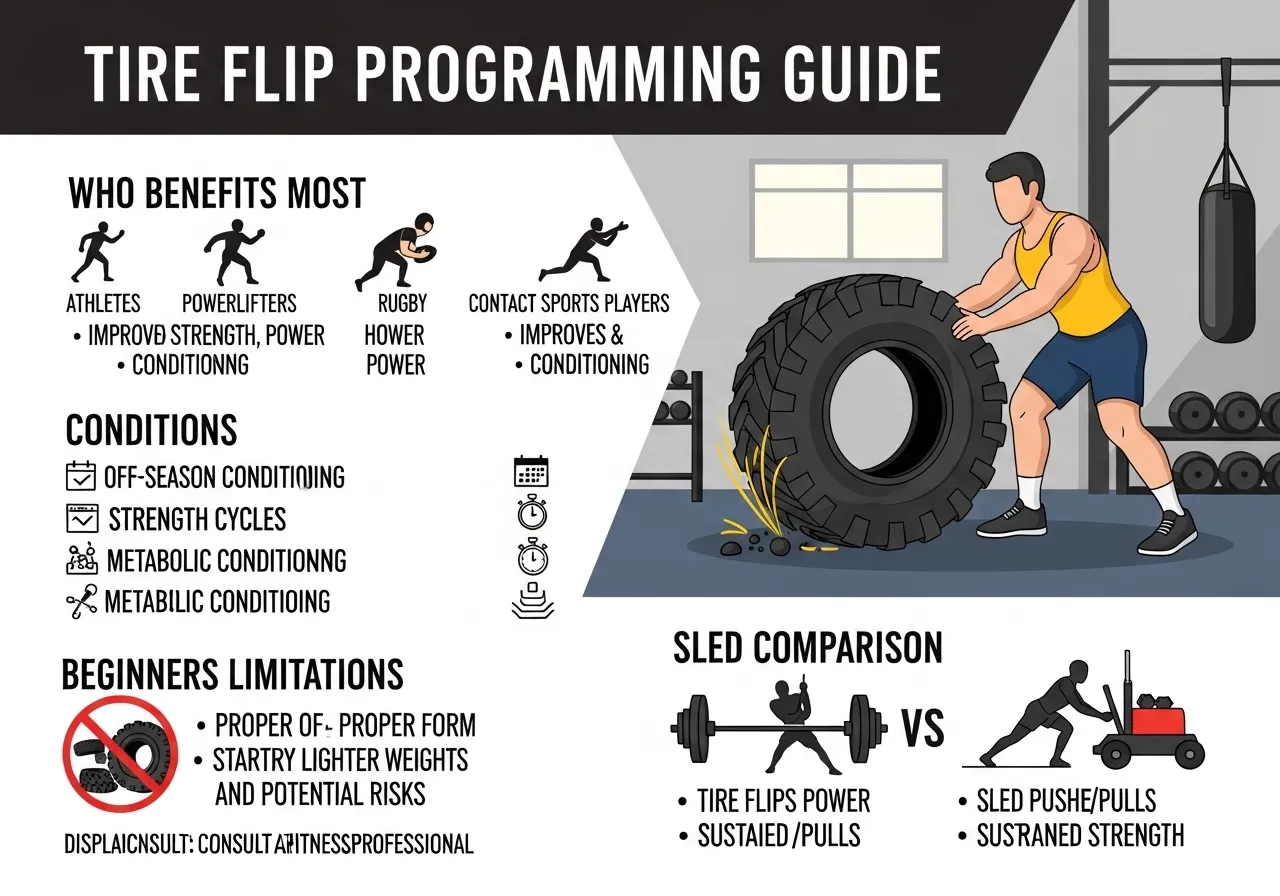
Tire flipping is most valuable for trainees who need to develop force production under unpredictable conditions. Athletes in contact sports including rugby, American football, and wrestling regularly encounter the need to produce force at non-standard angles and through shifting resistance. Tire flipping specifically trains this quality in a way that barbell training does not.
Trainees who have developed solid conventional strength, can Romanian deadlift 1.5 times their bodyweight and perform clean technique hip hinges, and want to add conditioning variety without duplicating existing training stimuli benefit significantly from tire work. The exercise adds metabolic conditioning, explosive power development, and neuromuscular challenge to a programme that standard equipment cannot efficiently replicate.
Who Should Approach It Carefully
- Beginners to strength training: The technique prerequisites and grip demands make tire flipping inappropriate as a first exposure to hip hinge training. The Romanian deadlift and conventional deadlift establish the mechanical pattern and posterior chain strength that make tire flipping productive rather than simply exhausting.
- Trainees with lower back sensitivity: Phase 1 of the tire flip creates compressive and shear forces on the lumbar spine that are challenging to control under fatigue. Individuals whose lower back is a limiting factor in conventional deadlifting should resolve that limitation before adding tire work.
- Anyone using tire flipping as their only power development tool: Tire flipping produces specific adaptations to the tire flip pattern. Barbell and dumbbell training produce specific adaptations to those patterns. Neither substitutes comprehensively for the other.
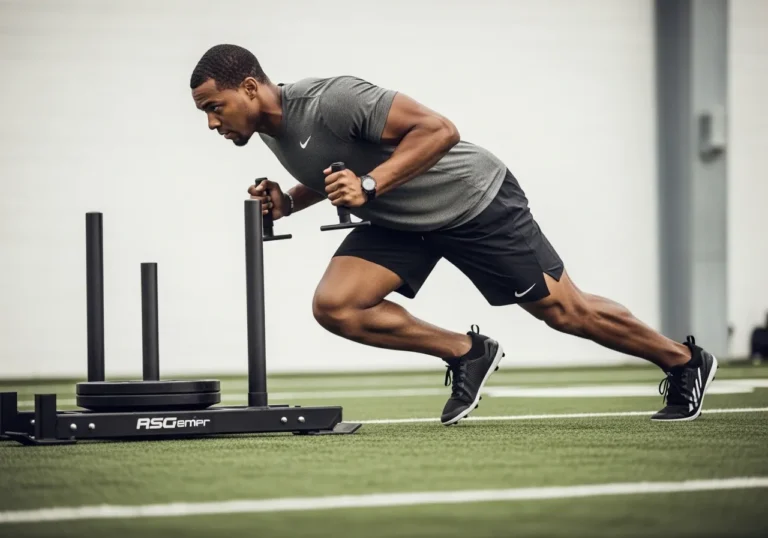
The Sled Training Comparison
Sled pushing and tire flipping address similar training goals through different mechanisms. Sled training provides continuous load at a controlled resistance and produces hip extension power in a more reproducible format that allows better progressive overload. Tire flipping produces episodic maximum effort in a more complex movement that cannot be precisely quantified. Both train explosive hip extension and metabolic conditioning. The sled training research and programming framework is covered in the sled training guide, which covers the conditioning applications that sled and tire training share.
Tire Flip Programming: Volume, Frequency, and Integration
Tire Selection and Starting Load
Tire weight should be selected based on technique, not ego. The correct tire weight for training is the heaviest tire that allows complete Phase 2 repositioning, with the hands moving from under the tire to flat against the face, within the same rep without a stall at the transition. If the tire stalls at knee height and the athlete cannot reposition before the tire’s upward momentum is exhausted, the tire is too heavy for current technique or strength.
For most recreational trainees, this is a 100 to 150 kg tyre. Experienced strength athletes typically work with 200 to 300 kg tires at moderate repetitions. Smaller tires of 50 to 80 kg allow beginners to develop the technique without the posterior chain and grip demands of heavier implements.
Set, Rep, and Distance Schemes
Tire flipping is programmed differently from standard resistance exercises. Distance-based schemes (flip the tire 20 metres) or repetition-based schemes (6 to 8 flips per set) both work. Rest between sets should be sufficient to maintain explosive Phase 1 and 2 execution: at least 2 to 3 minutes for repetition-based work and 3 to 4 minutes for conditioning circuits that combine tire flipping with other exercises.
Volume accumulation follows the same principle as plyometric training: quality of each flip matters more than total flip count. A session producing 20 to 30 total flips with full explosive intent, complete technique, and adequate rest between sets produces superior power adaptations to 50 flips performed with degraded mechanics from accumulated fatigue. The bodyweight training principles and progressive overload without fixed implements that complement tire training are covered in the bodyweight training guide.
8-Week Tire Flip Programme
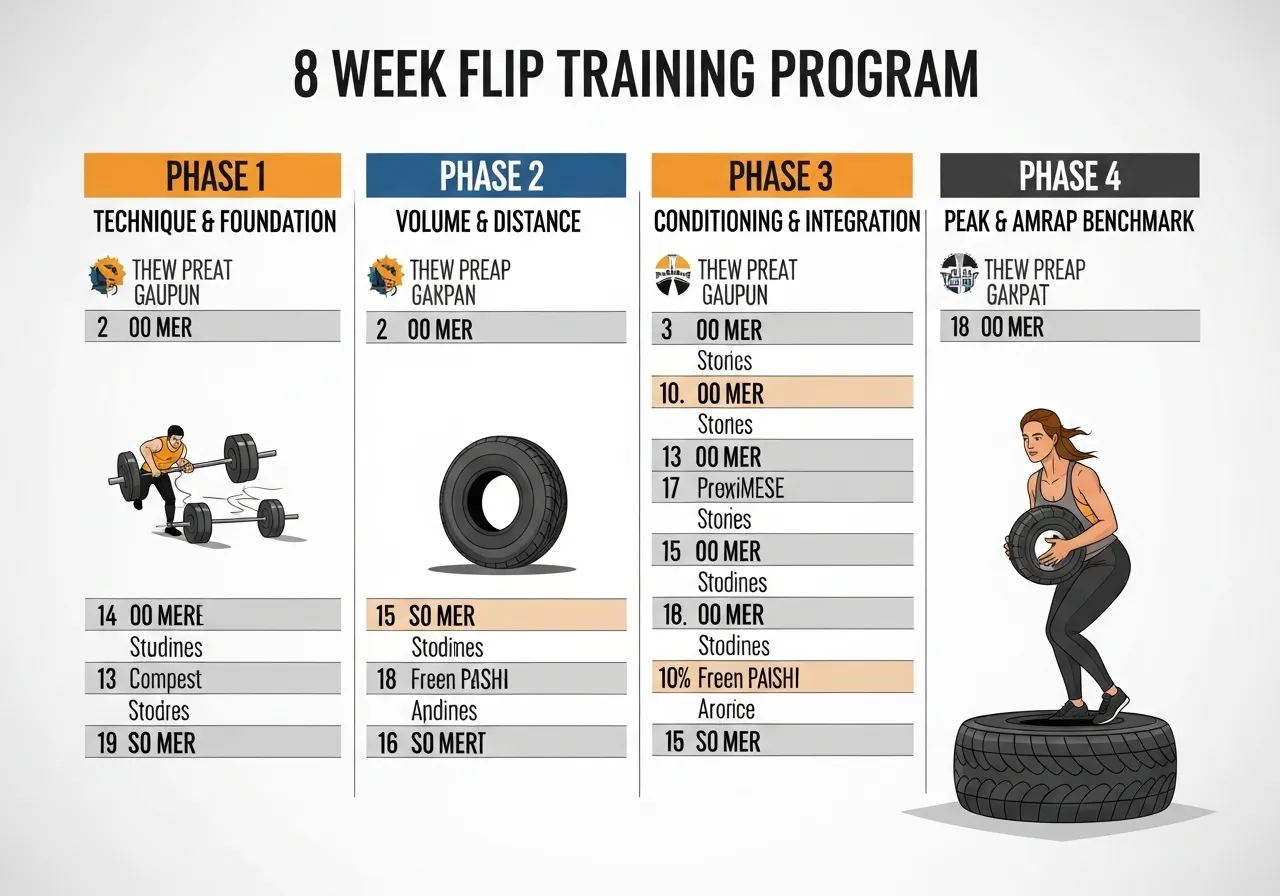
📅 Phase 1: Weeks 1 to 2: Technique Foundation
- 3 sets of 4 flips with a light tire (bodyweight or under)
- Full rest between sets: 3 to 4 minutes
- Focus: Phase 2 transition speed, hand repositioning drill
- No conditioning circuits yet
Master the three-phase sequence before adding intensity or volume.
📅 Phase 2: Weeks 3 to 4: Volume and Distance
- 4 sets of 5 to 6 flips or 4 sets of 15 metres
- Rest: 3 minutes between sets
- Begin introducing moderate tire weight (100 to 150 kg for most trainees)
Build volume and distance while maintaining Phase 2 transition quality.
📅 Phase 3: Weeks 5 to 6: Conditioning Integration
- Circuit: 5 tire flips + 10 box jumps + 5 tire flips, rest 3 minutes, repeat 3 rounds
- Standalone tire session: 5 sets of 5 flips, 2 to 3 minutes rest
- Session frequency: 2 per week
Combine tire flipping with explosive lower body work for complete power and conditioning stimulus.
📅 Phase 4: Weeks 7 to 8: Peak Conditioning
- AMRAP: maximum flips in 5 minutes on a moderate tire (benchmark test)
- Heavy tire attempt: work up to a 3 to 5 rep set on a heavier tire than previous phases
- Compare Week 8 AMRAP flip count to Week 1 baseline
Establish performance benchmarks for the next training block.
Common Tire Flip Errors and How to Fix Them
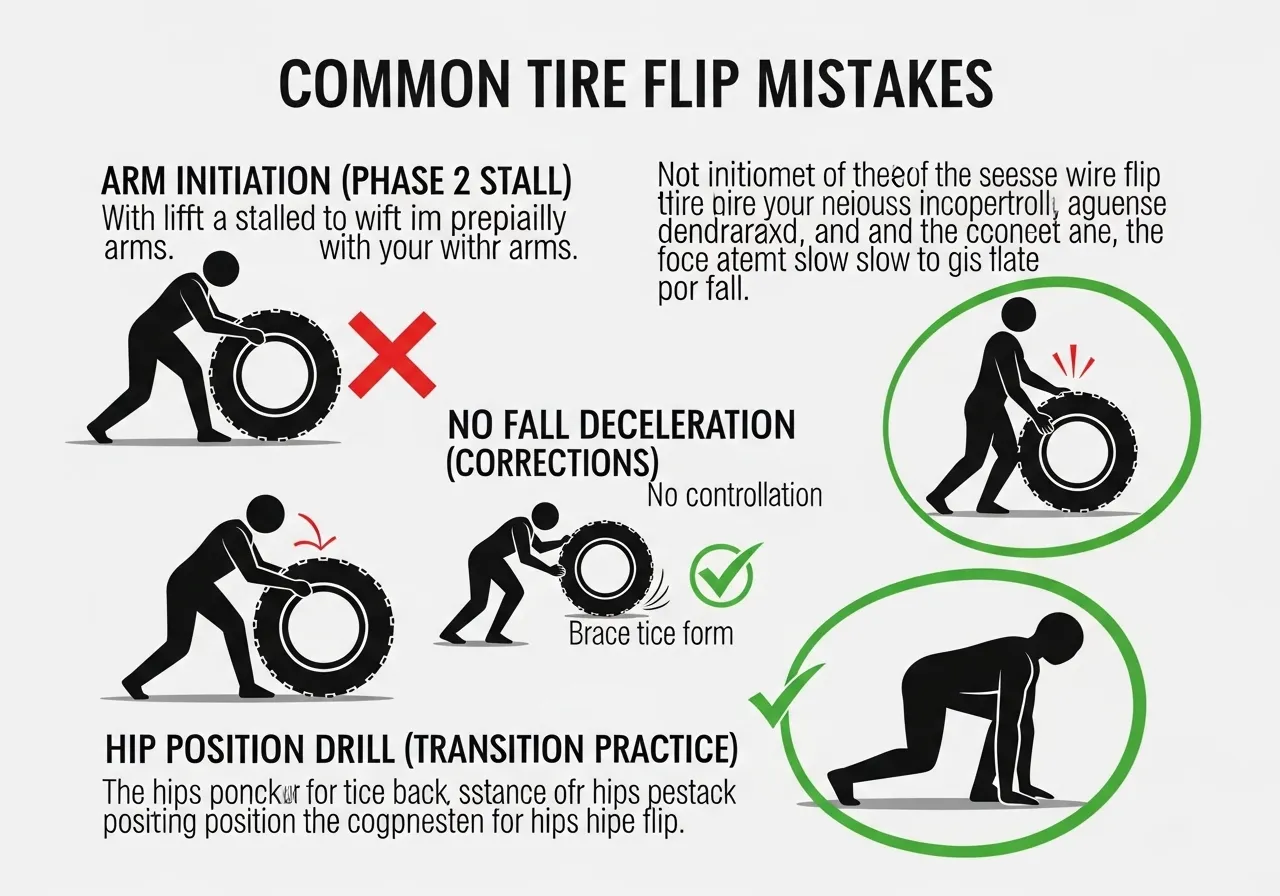
Error 1: Using the Arms to Initiate Phase 1
The most common tire flip error is attempting to lift the tire using arm curl strength from a partially upright position. This places the bicep tendons, forearms, and wrists under maximal shear load without the posterior chain contribution that makes the lift biomechanically safe and productive.
The correction: set the hips below the shoulders before initiating Phase 1. The back should be at roughly 45 degrees when the hands go under the tire. Drive the hips explosively forward. The arms provide traction and direction; they do not generate the lifting force. A useful self-test: if the arms feel the exercise more than the hamstrings and glutes during Phase 1, the hips are too high and the arms are compensating.
Error 2: Missing the Phase 2 Transition
Many beginners allow the tire to stall at chest height because they do not reposition their hands quickly enough. The tire is too heavy, the athlete is not explosive enough in Phase 1 to create sufficient upward momentum, or the hand repositioning from finger curl to flat palm is not practised as a deliberate movement.
The correction: practise the hand repositioning as a standalone drill without a tire. Stand and simulate moving from a finger curl to flat palm push against an imaginary surface at knee height. This is a wrist and forearm flexibility drill as much as a strength drill. For many trainees, restricted wrist extension is the limiting factor in the Phase 2 transition, not strength.
Error 3: No Deceleration on the Fall
Allowing the tire to crash to the ground without any deceleration guidance creates two problems. The tire bounces unpredictably and may land on the trainee’s feet. The loud impact is generally unacceptable in shared gym spaces. And the floor receives repetitive heavy impact that damages surfaces over time.
The correction: as the tire completes Phase 3 and begins to fall, keep one hand lightly guiding the tire face as it descends to the horizontal position. This slight resistance controls the fall trajectory and prevents the uncontrolled bounce. The guide hand does not catch or support the tire’s weight; it redirects the fall to a predictable surface landing.
Frequently Asked Questions About Tire Flip Training
Where do I find a training tire?
Tyre retailers and farms are the primary sources for training tires. Large tractor or agricultural tires are the most commonly used. Most tyre shops are willing to give away tires they cannot sell, since tyre disposal costs money. Calling local farms or tractor dealerships directly is the most efficient approach in rural areas. CrossFit gyms and outdoor training facilities in urban areas typically have training tires available for public or member use.
Training tires range from 50 kg to over 400 kg. A 100 to 150 kg tire is appropriate for most trainees with solid base strength. Beginners should start with 50 to 80 kg if possible.
Is tire flipping safe for the lower back?
Tire flipping with correct Phase 1 technique, specifically with the hips low and the drive coming from hip extension rather than lumbar flexion and extension, produces posterior chain loading comparable to the deadlift in terms of spinal loading pattern.
The risk increases significantly when Phase 1 is initiated from too upright a position, when the tire is too heavy for the trainee’s current posterior chain strength, and when fatigue degrades Phase 1 mechanics. Under these conditions, the lumbar spine flexes under load rather than the hips extending under load, which is the mechanism for disc injury across all hinge movements. The same technical discipline that protects the spine in deadlifting protects it in tire flipping.
How heavy should my training tire be?
The correct training tire weight is the heaviest tire that allows full Phase 2 hand repositioning within the same rep. Use this as the primary selection criterion rather than bodyweight percentages, which are unreliable guides given the variation in how tire weight translates to exercise difficulty across different tire dimensions and ground surfaces.
As a rough guide: a trainee with a 120 kg deadlift maximum will typically train productively on a 100 to 130 kg tire. A trainee with a 160 kg deadlift might use a 150 to 200 kg tire. The ratio is not consistent because tire mechanics differ substantially from deadlift mechanics.
- Tire flip performance is determined by rate of force development in the Phase 2 transition, not absolute lower body strength. Elite performers are faster in this transition, not necessarily stronger.
- The tire flip trains the posterior chain through multiple hinge positions in a single repetition, with load orientation changing continuously in a way that no single standard exercise replicates.
- Metabolic resistance training including tire flip circuits produces significant VO2 max and power improvements while elevating post-exercise oxygen consumption for up to 38 hours.
- Phase 1 is a hip extension drive, not an arm curl. If the arms feel the exercise more than the hamstrings and glutes, the starting hip position is too high.
- The Phase 2 hand transition from finger curl to flat palm is the skill element that separates productive tire flipping from wasted effort at the stall point.